


And with that, take it away Rebecca…
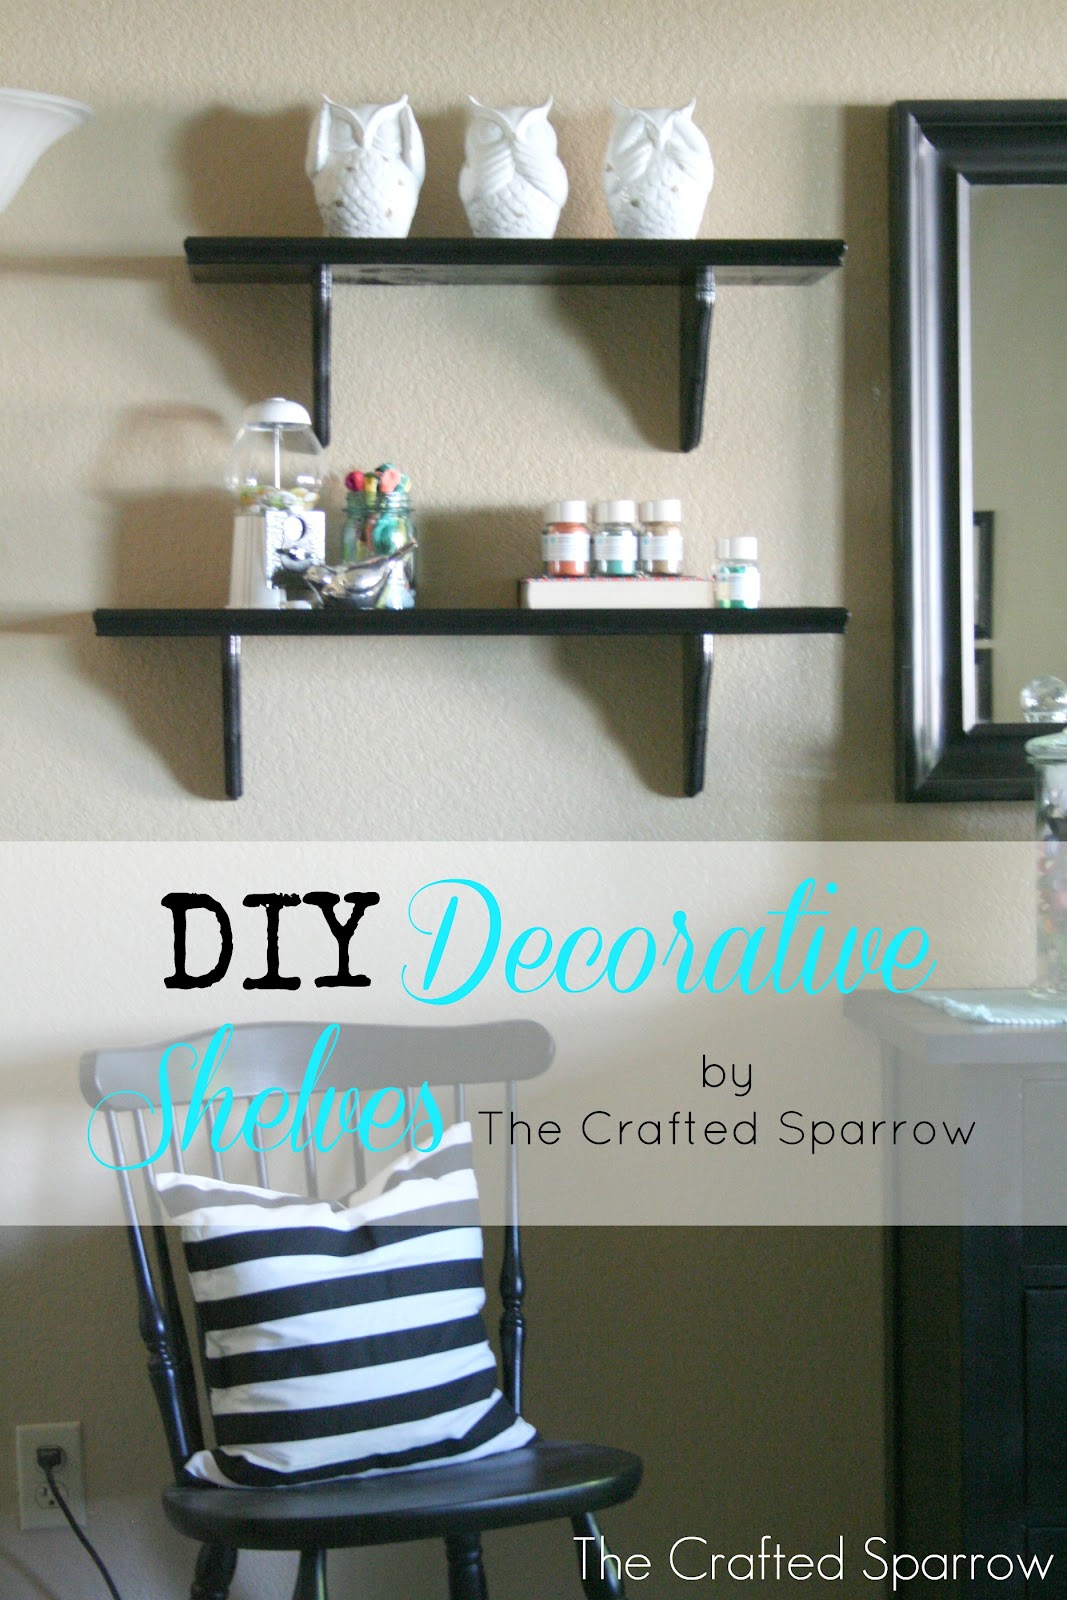
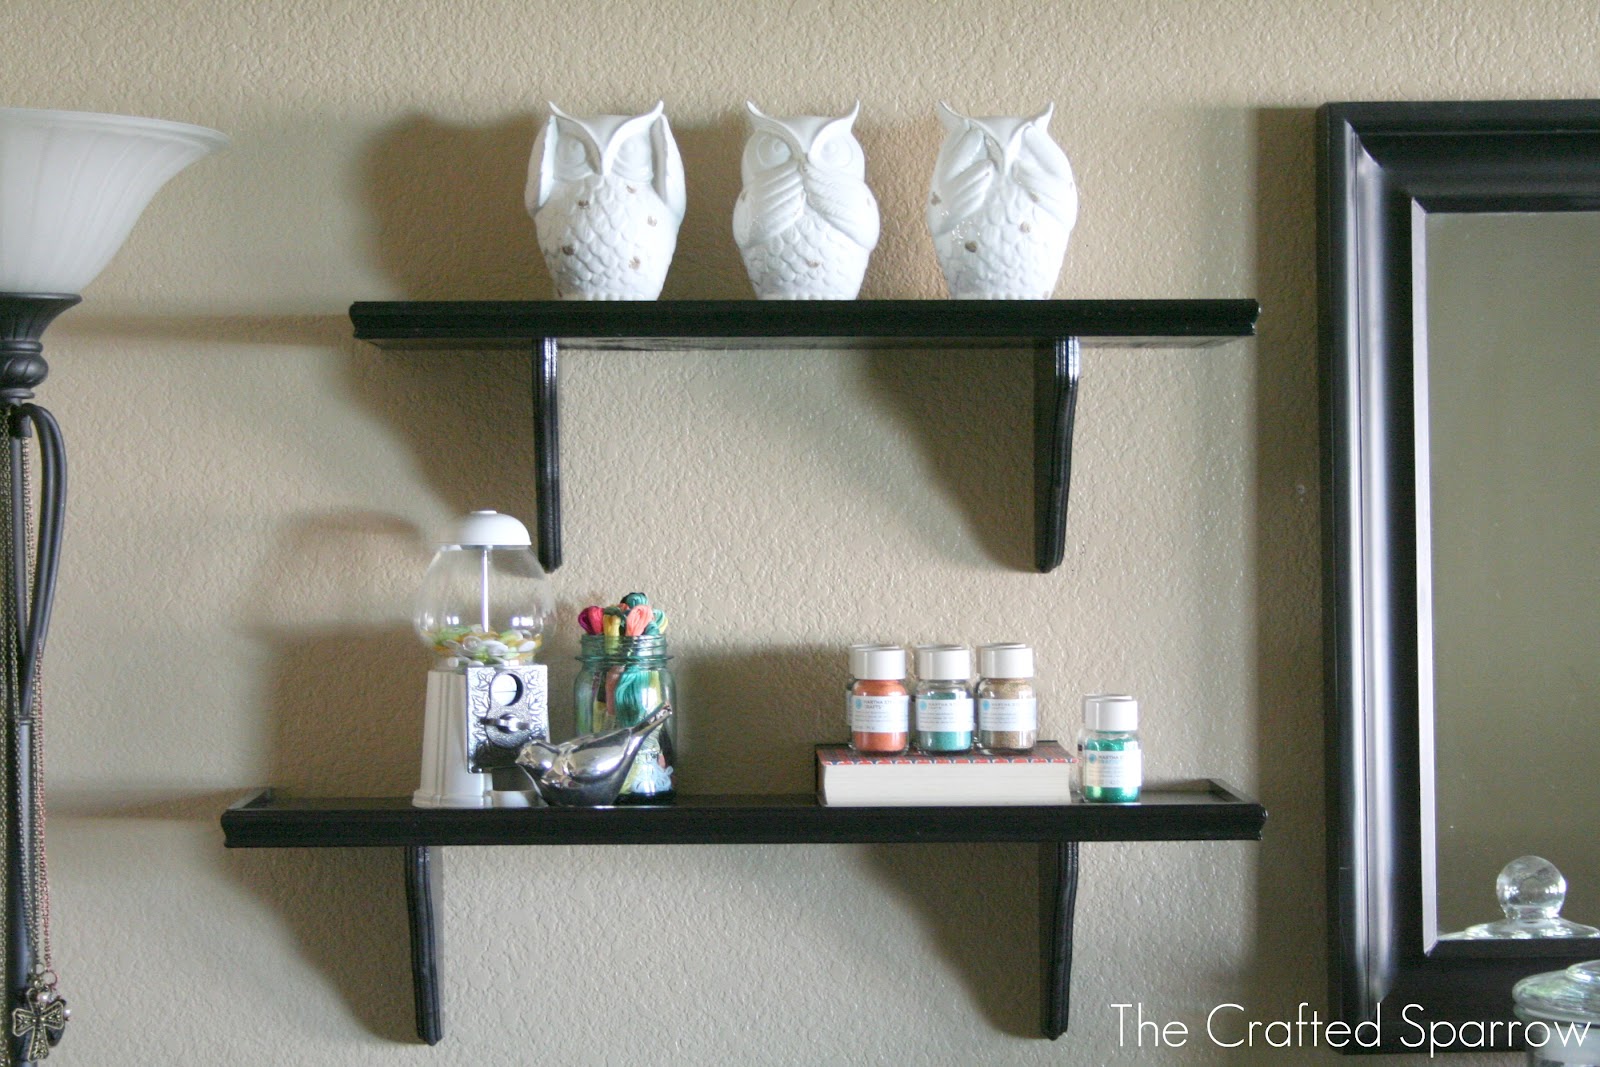
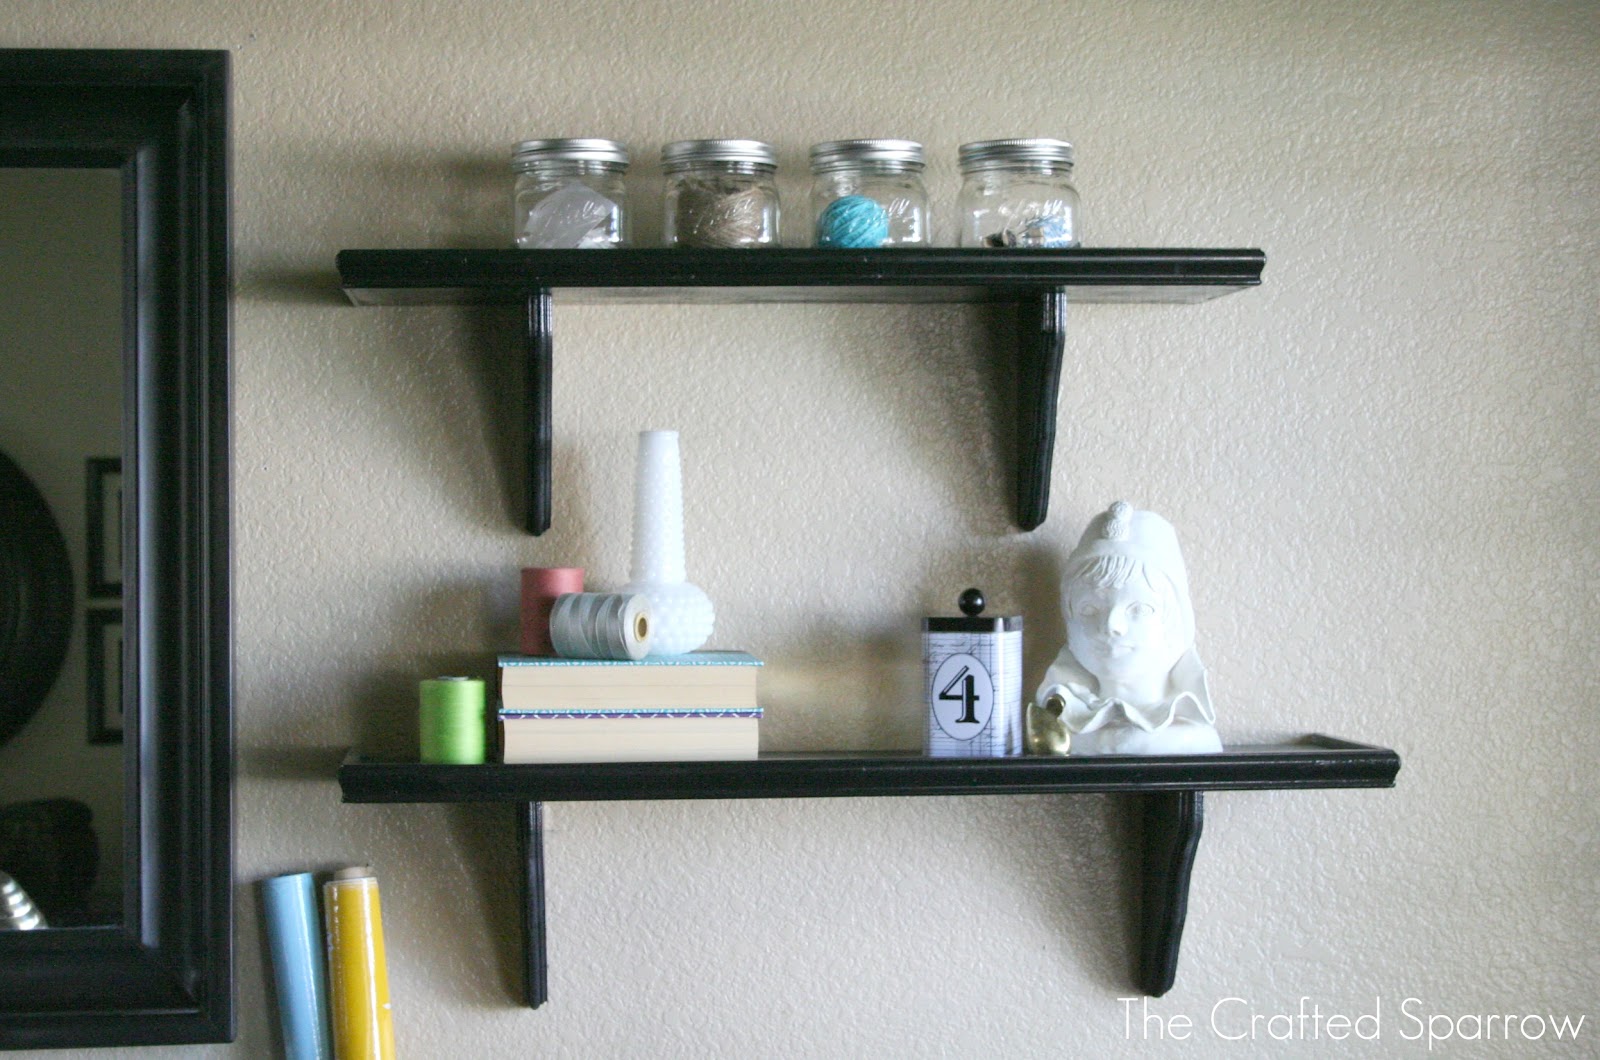
DIY Decorative Shelves Tutorial
Supplies
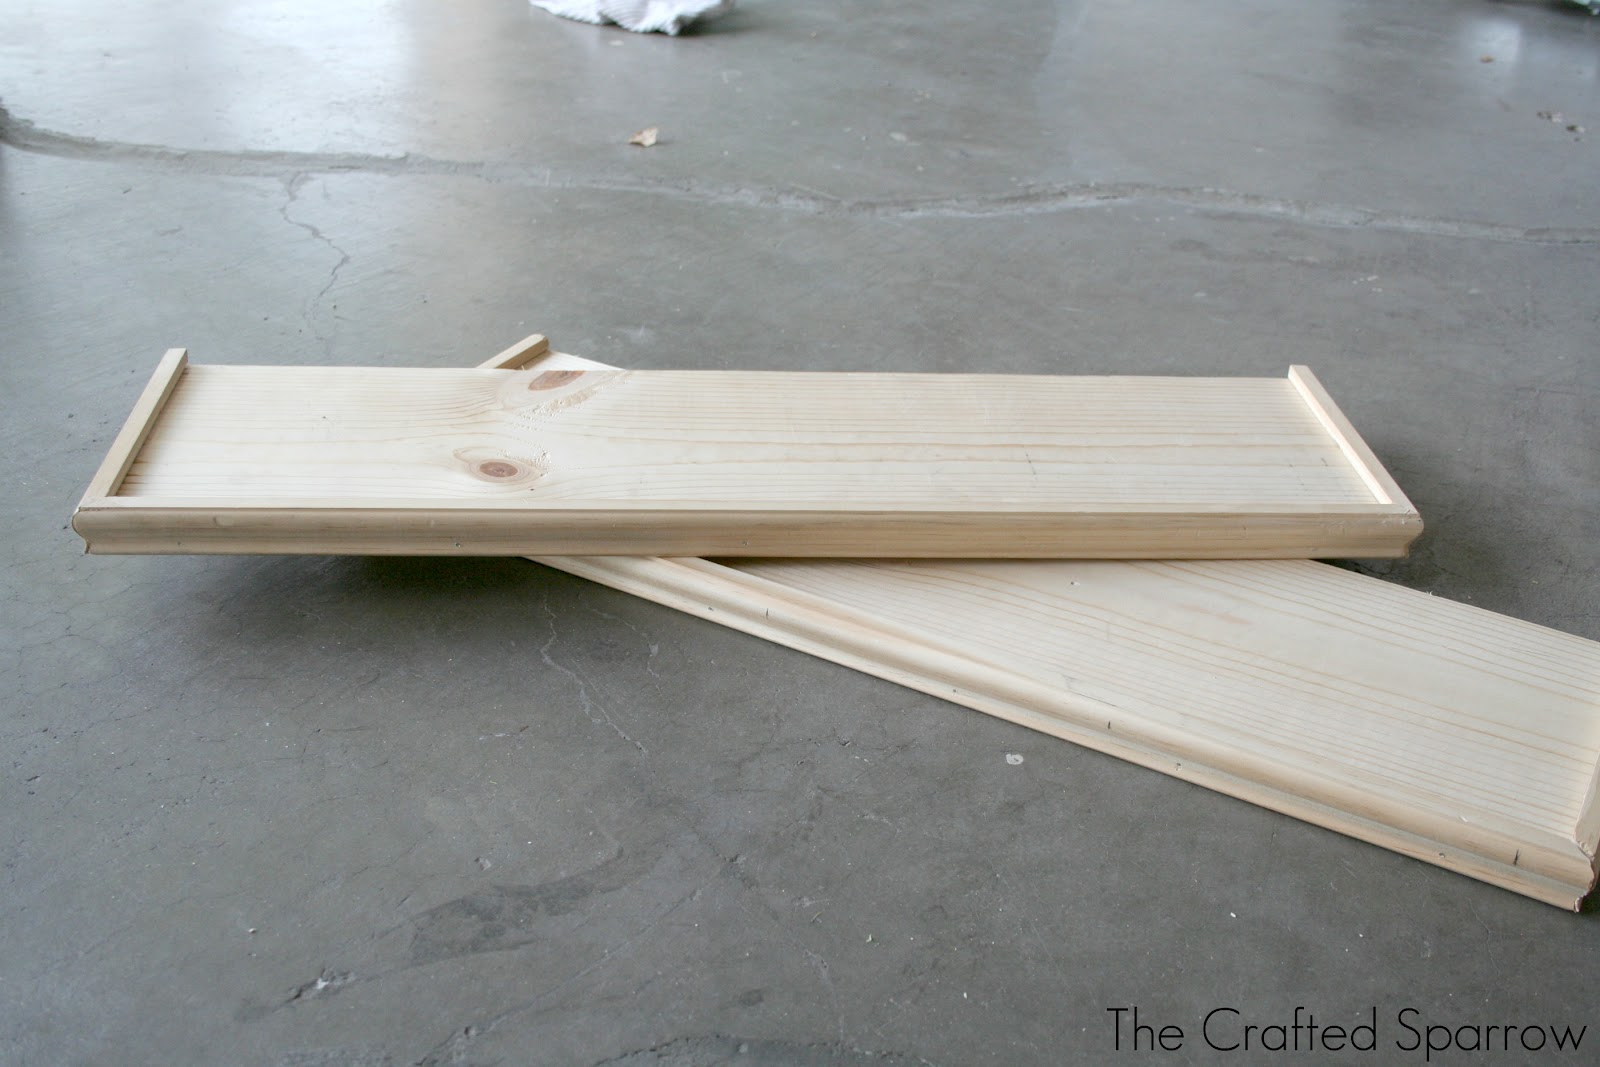
I went to Home Depot and ended up choosing a pine board that was about 7.5″ wide x 10′ long. I made sure it was straight and that it was nice and clean looking. I chose the pine based on price, so choose what you like and fits your budget.
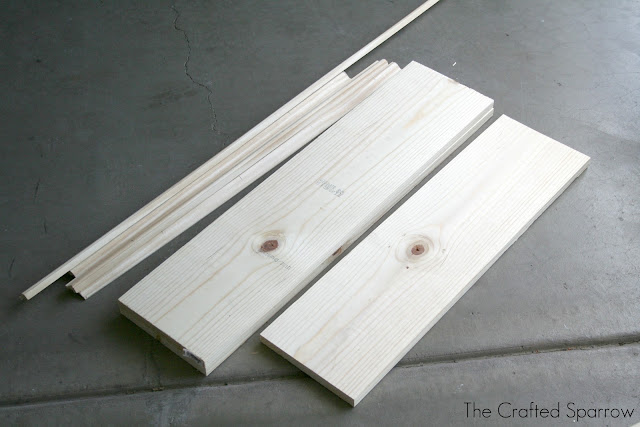
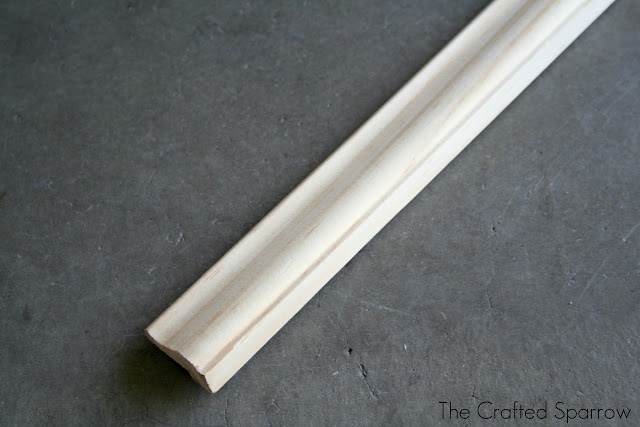
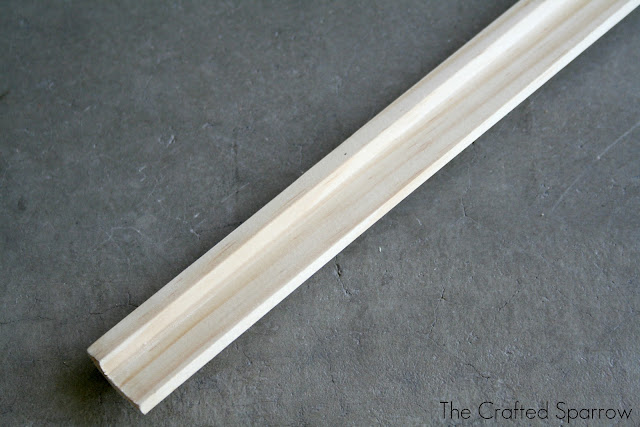
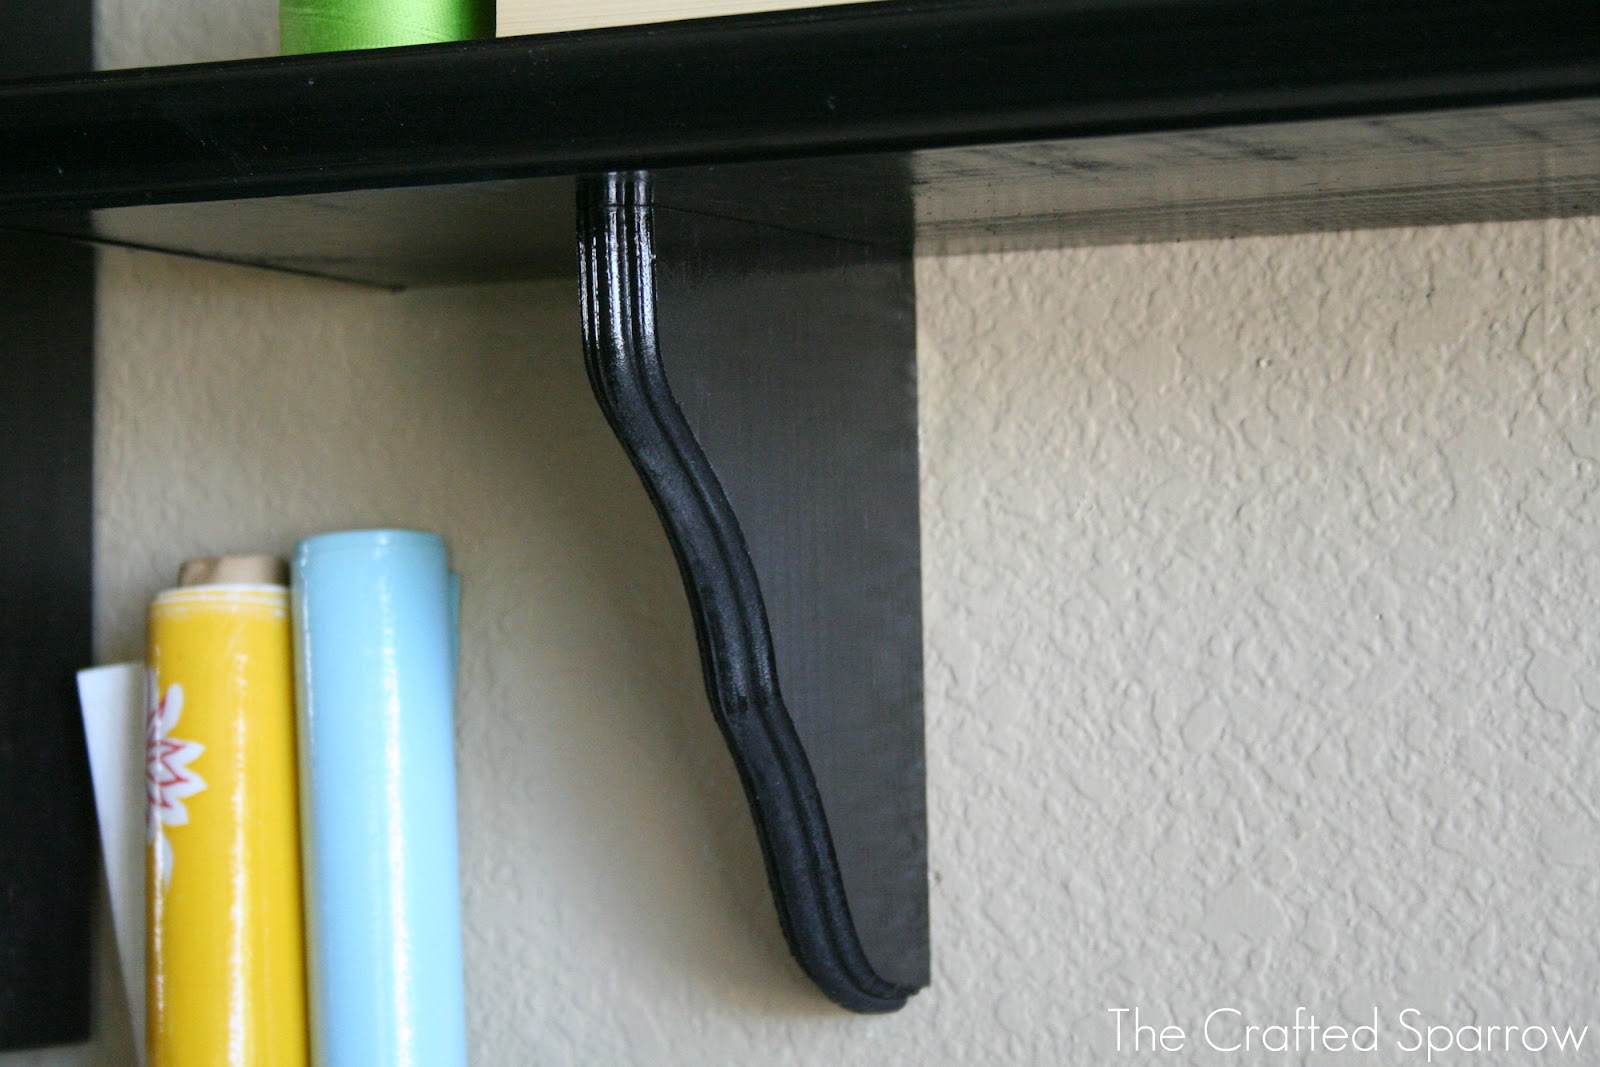
I chose the most inexpensive molding I could find, it actually worked perfect. It is only about 1.5″ wide and had a little lip that rested against the pine board which made it so easy to keep straight when we put it on the shelves.
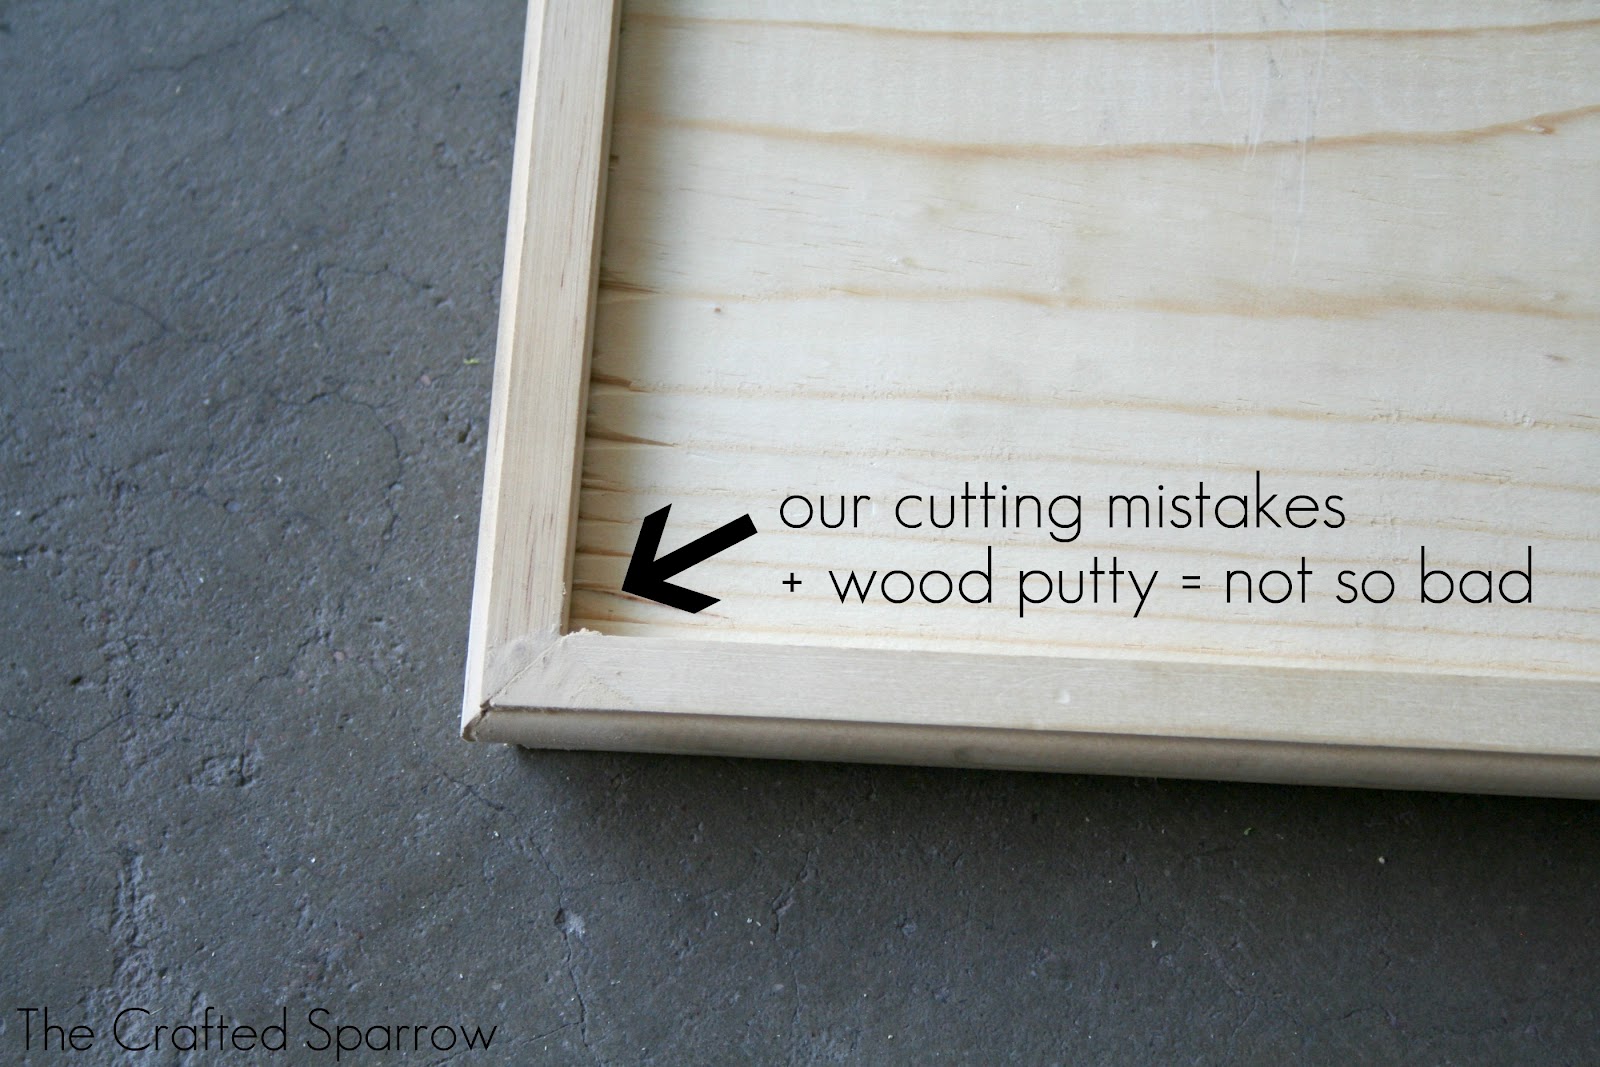
You can see the video we watched HERE. I’ll be honest this was the worst part of making these shelves. We were so frustrated trying to figure out how to miter the corners since neither one of us had ever done it before. My suggestion is to have the guys at Home Depot show you when your in the store. The only cut we actually made right was the very last corner of the last shelf, the rest were all funky. All I can say is thank goodness for wood putty!
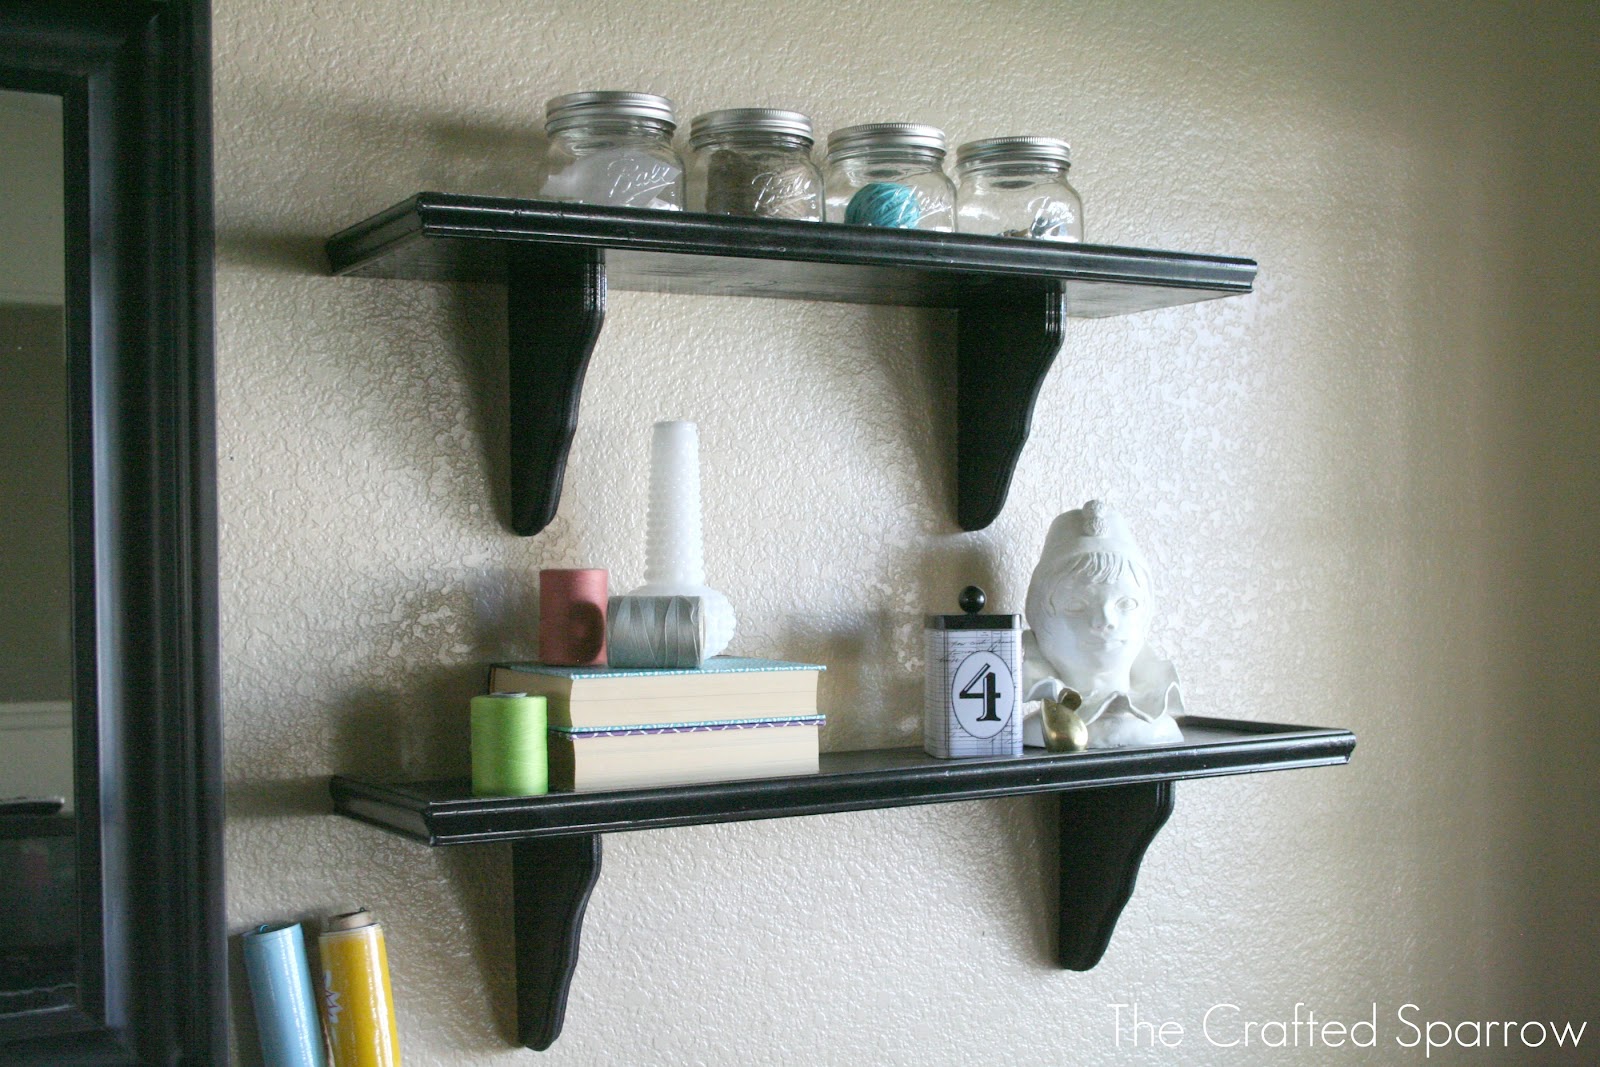
Once you get all your trim mitered, you will place a small bead of wood glue to the edge of your pine board. Then using finishing nails, you will nail the trim to the two end pieces and front. Make sure to using the finishing nail tool to ensure your nails get flush with the trim. You can use wood putty to fill in the holes and sand lightly.


Tauni Everett
Creative Director at Tauni Everett
- DIY Welcome Fall Grapevine Wreath
- Another Day Another Plié Dance Bag + Cut File
- Don’t Go Bacon My Heart Cut File + T-Shirt
- Consumer Crafts: A Crafter’s Best Friend
- Kate Spade Inspired DIY Polka Dot iPhone Case
- Show & Tell No. 40: Spring Craft Ideas
- Salt and Pepper Shaker Snow Globes
- How to Pick the Perfect Entryway Rug
Looks great! Love Rebecca! She’s so talented. 😉 xo, Kimberly
WOW! Those are great and so inexpensive! I love the high gloss black color, too.
Your shelves turned out so great! I love them. Thanks for the tutorial.