

Hi Friends! Today I’m sharing a really fun way to personalize packaging. I’m showing you how to make your own Foam Stamps in Chevron & Stripes. These stamps are really easy to make and you probably already have enough supplies at home to make them.
Supplies:
– Craft Foam Sheets (the kind kids make fun crafts out of, you can typically find it by the felt at Michaels)
– Scissors
– Ruler
– Marker or Pen
– Paint or Stamp Pads
– Foam Craft Paint Brush or Foam Craft Paint Dobber
– Something pretty to stamp it on
– Glue Gun
– Foam Core or A Small Piece of Wood
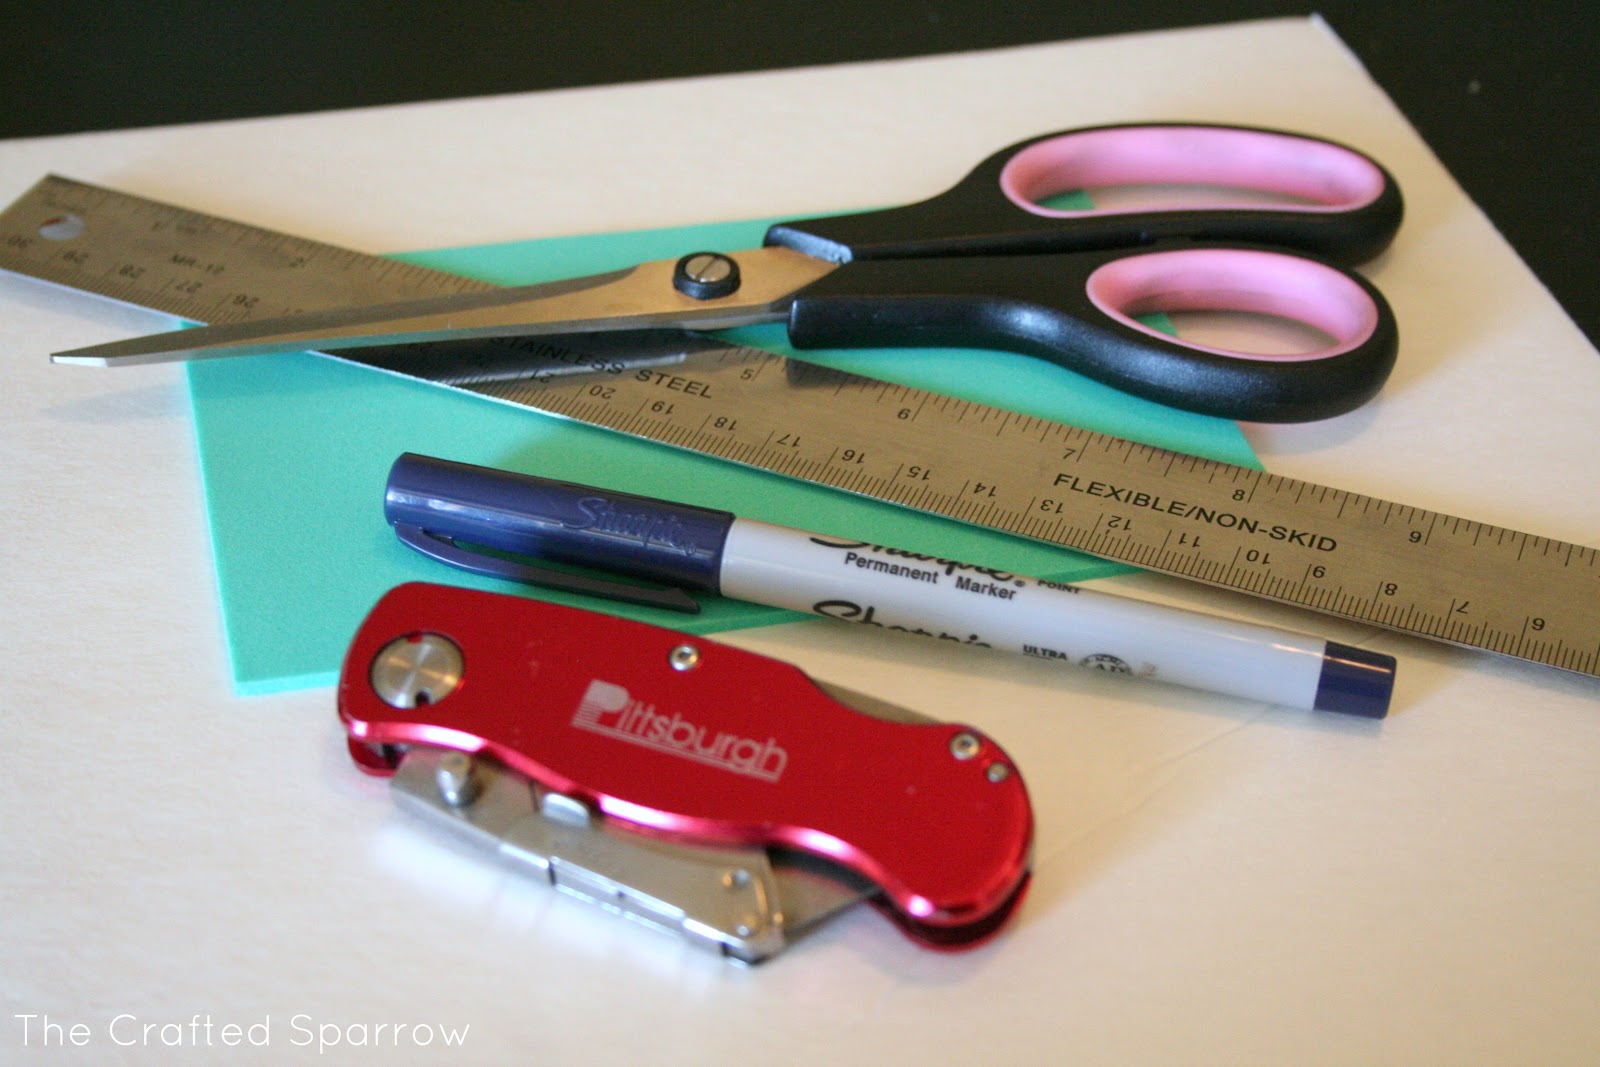
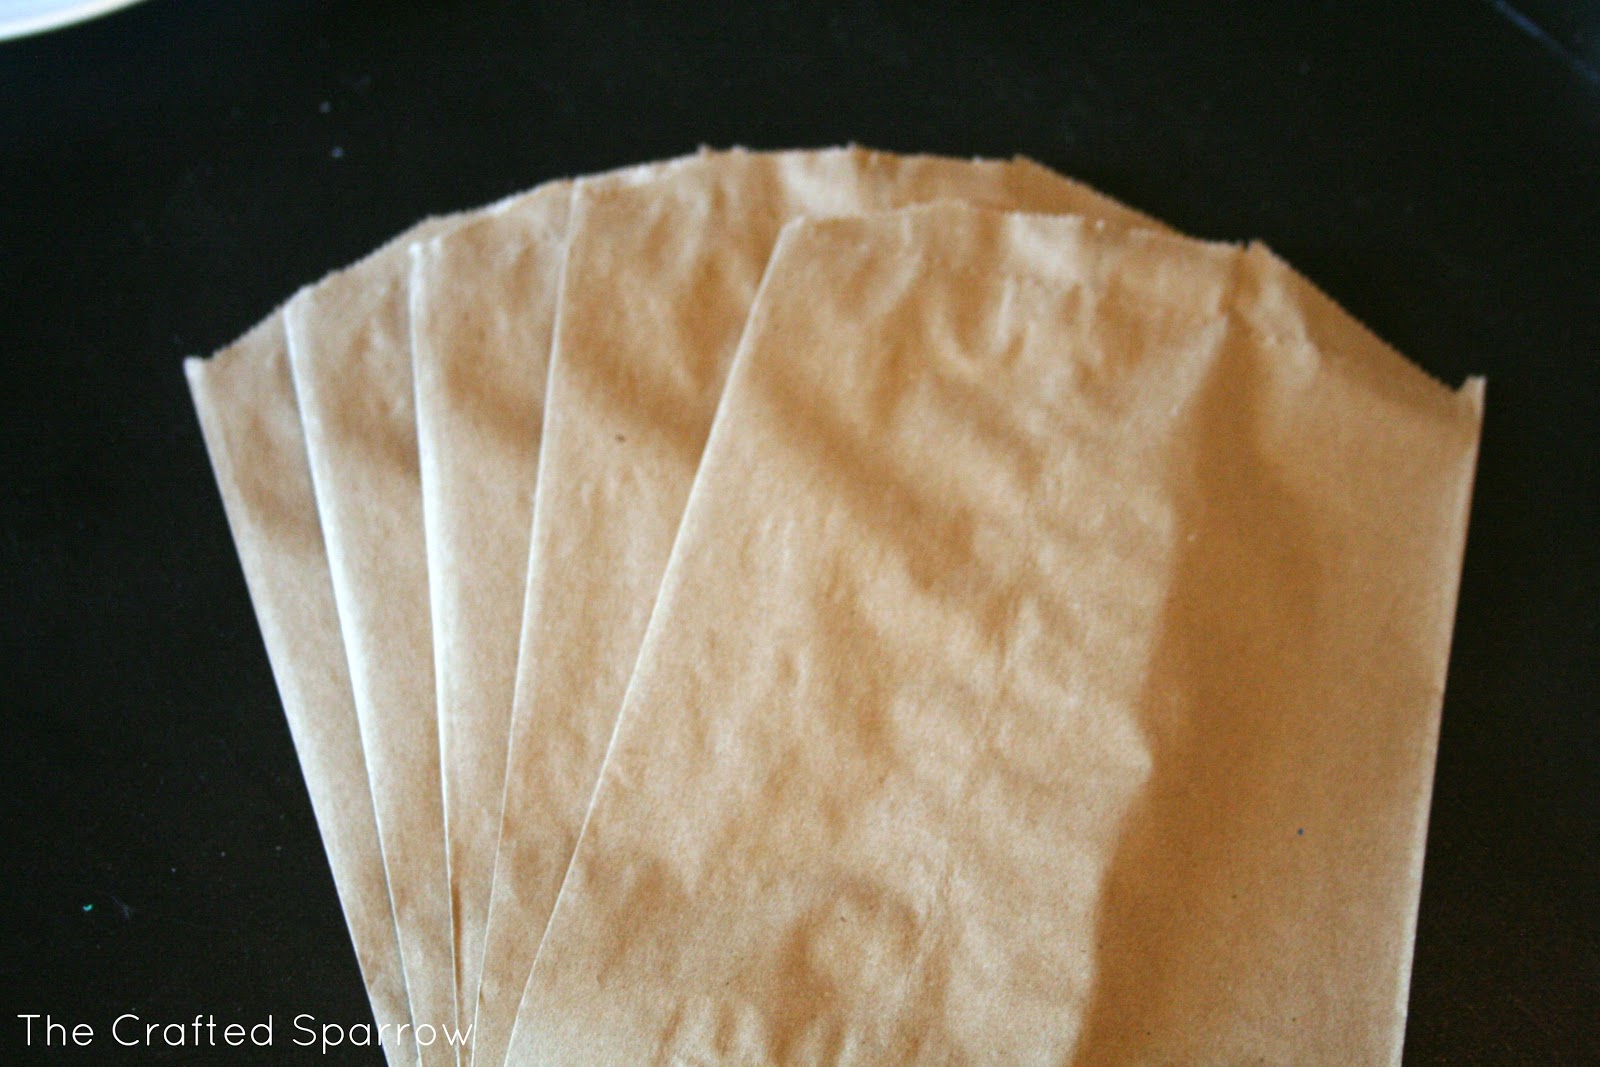
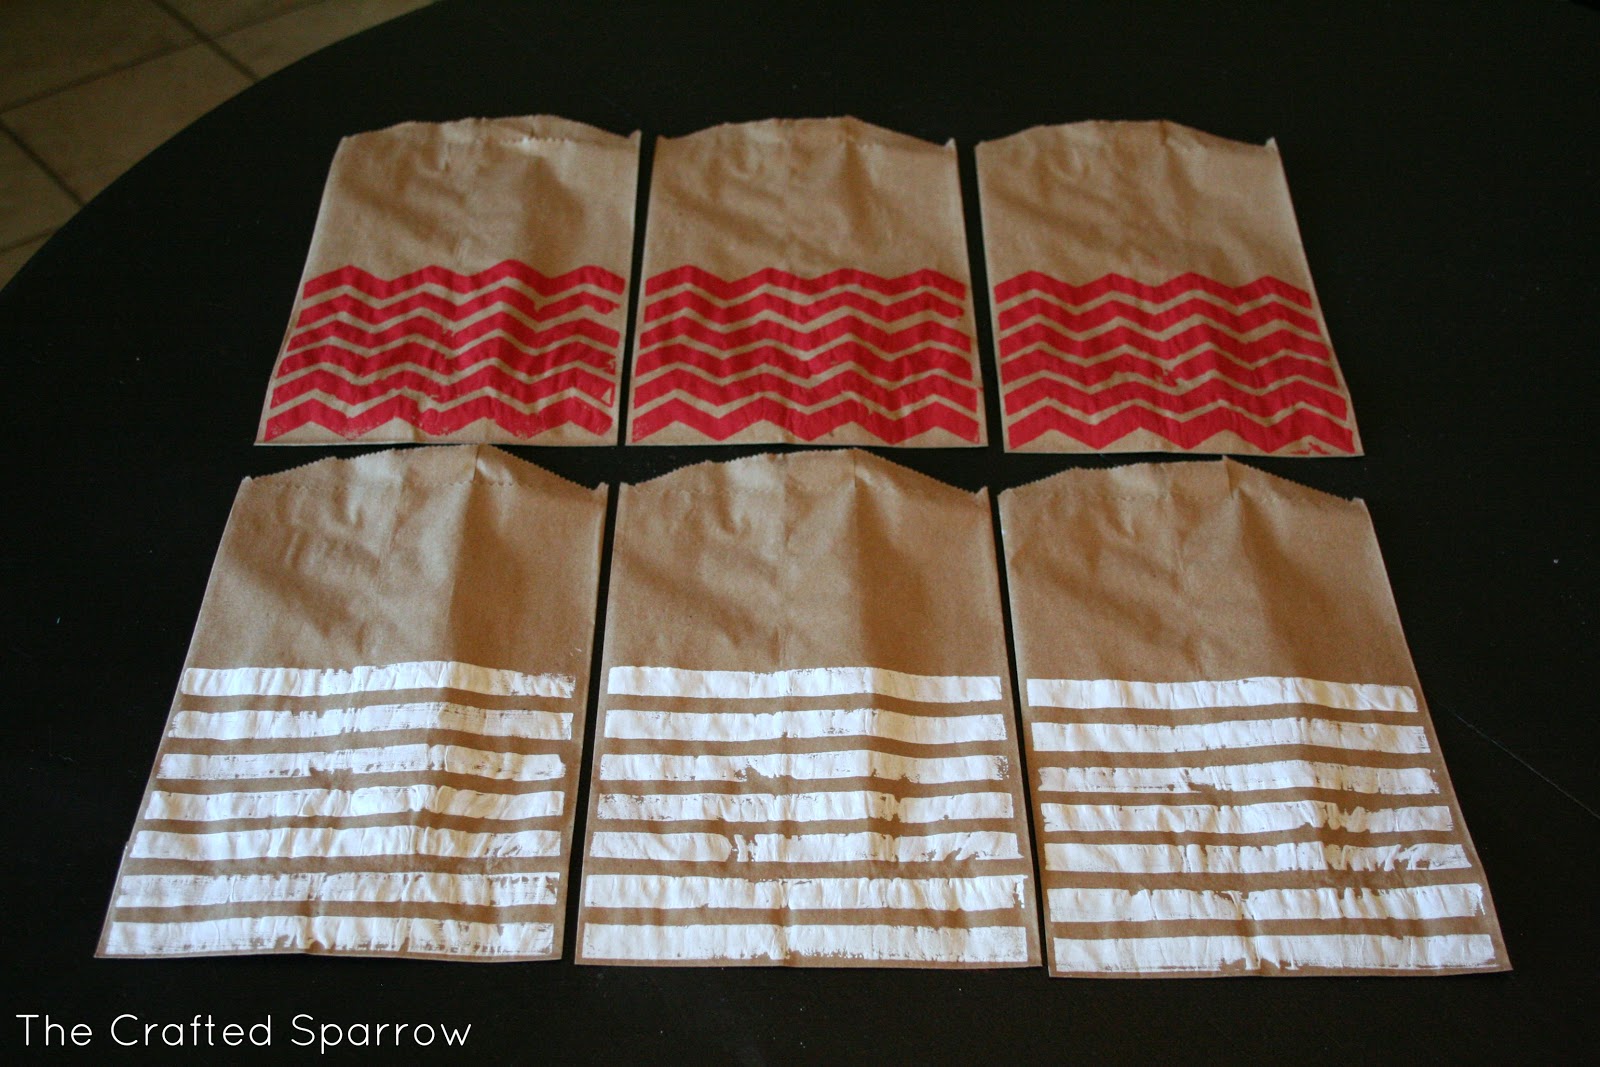
I had a bunch of small 4 x 6″ craft foam on hand from my kids stash of craft supplies. So that’s what I grabbed and it was perfect for my Brown Paper Kraft Bags that I wanted to stamp on.
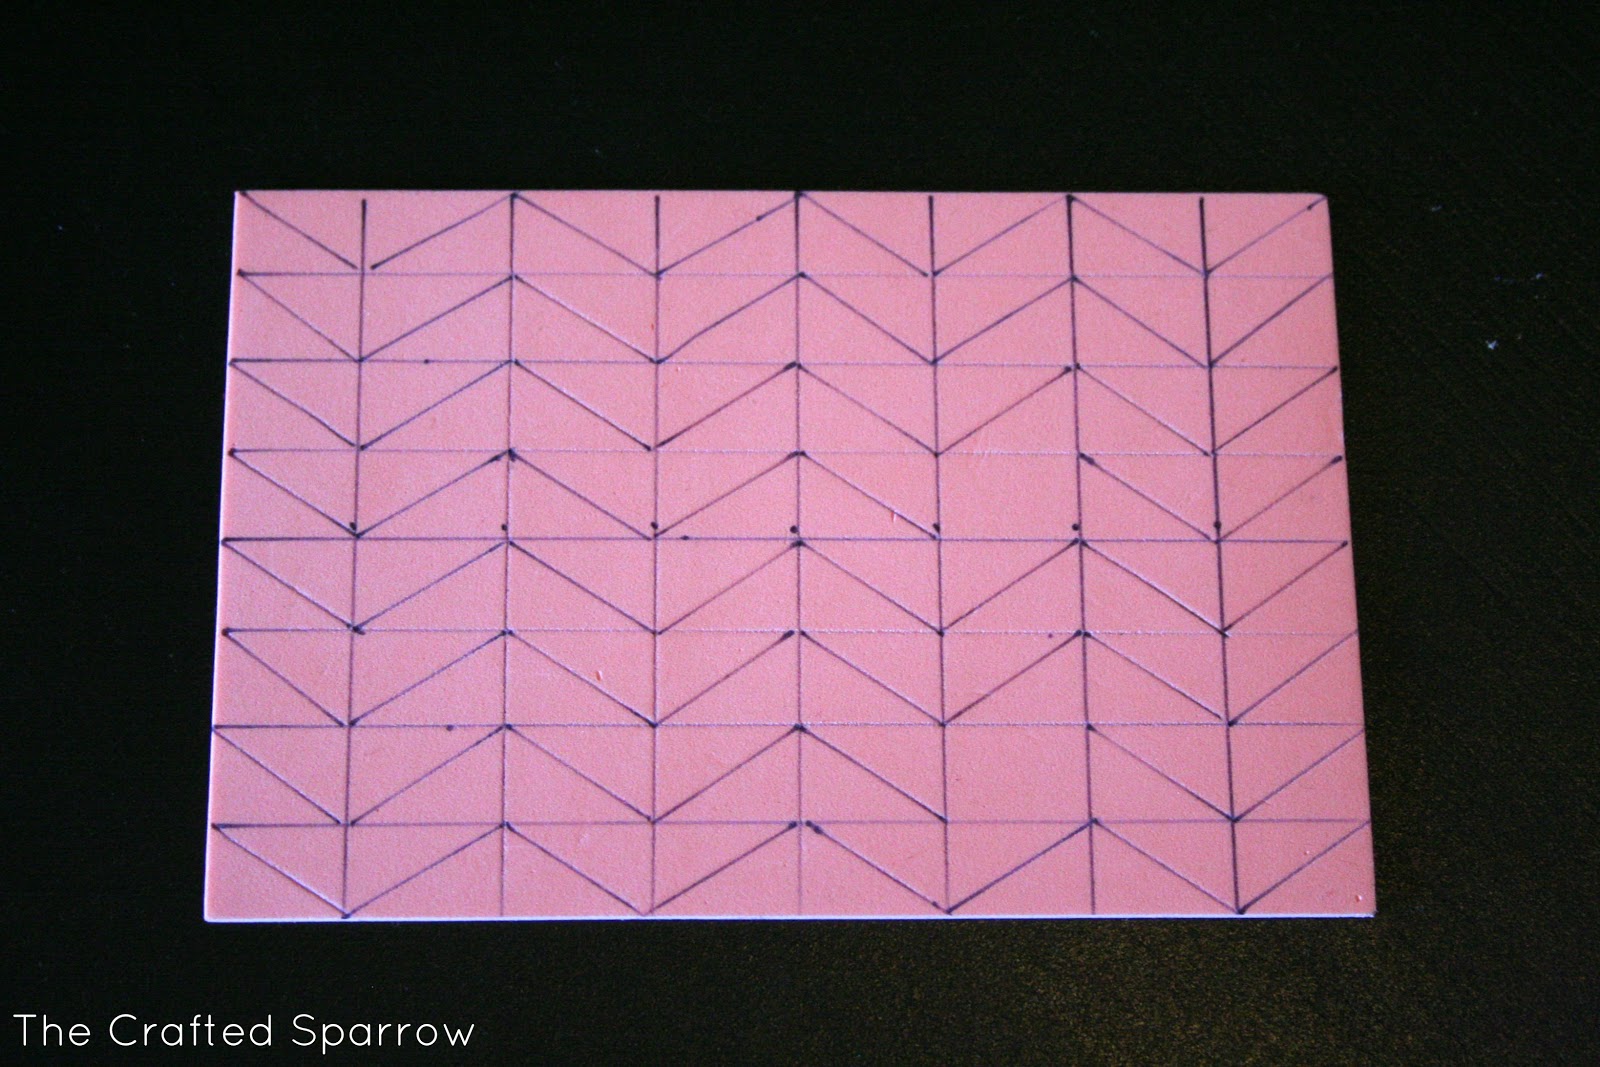
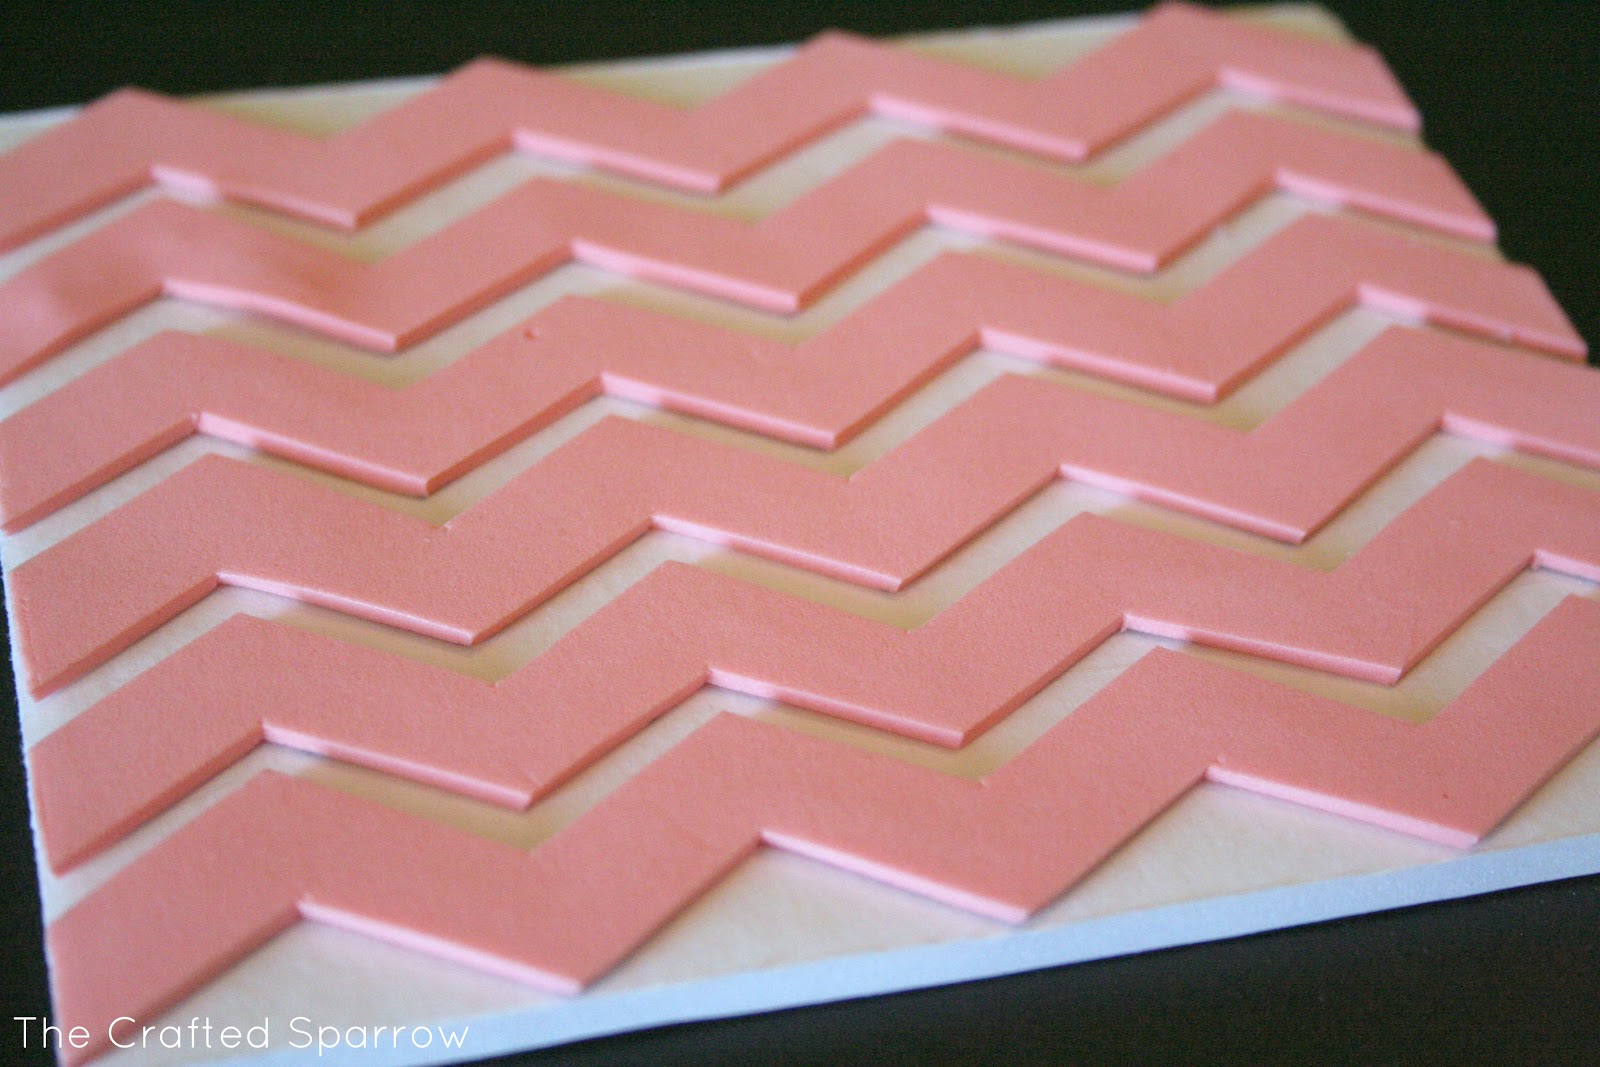
I began by finding my center point and making a small dot with my marker. I then found the center point on both sides of my original center line, and then once again I found the center mark to those second set of dots (make sense?) It should look like my foam below when your done marking it vertically.

I then found all my center points horizontally and drew those lines. It will look like this second picture below where I started marking my chevron points. My chevron zig zags are about 1/2″ wide.

With my ruler I just connect the lines diagonally.

It will look like this when you are done drawing all your diagonal lines.
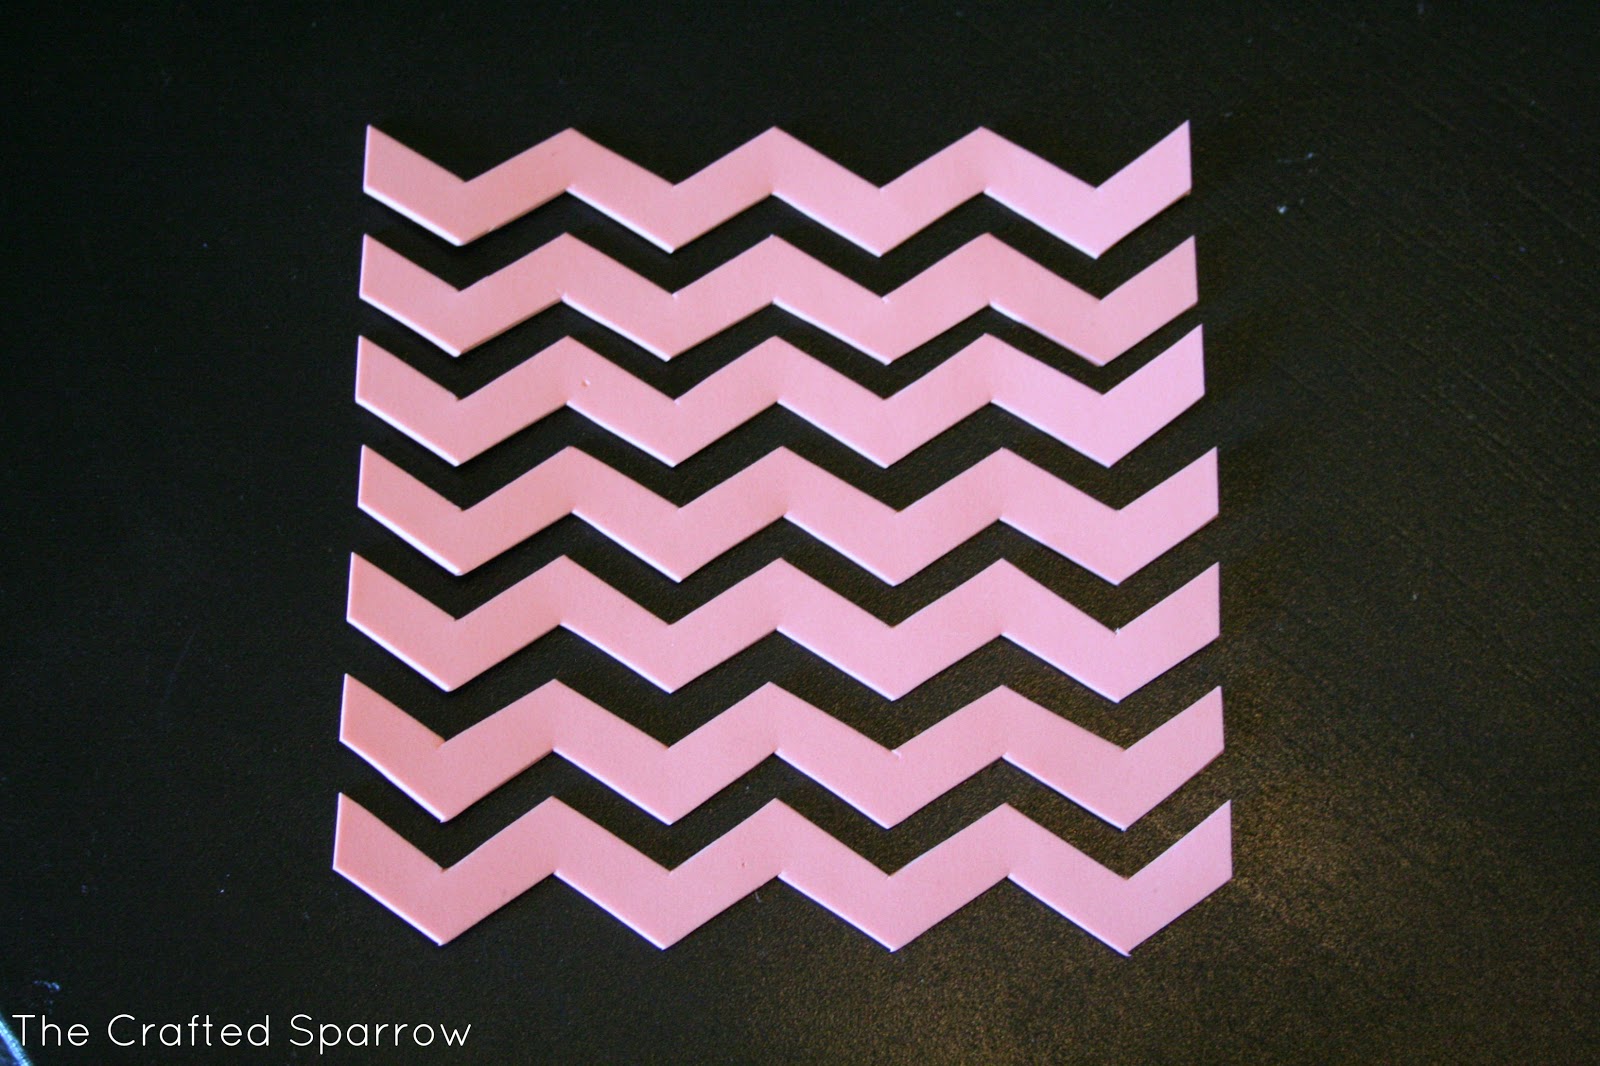
I then cut it all out with my scissors. There is something about cutting craft foam to me that is therapeutic, it just cuts so smooth. When your done cutting you’ll have a ton of chevron stripes like this.
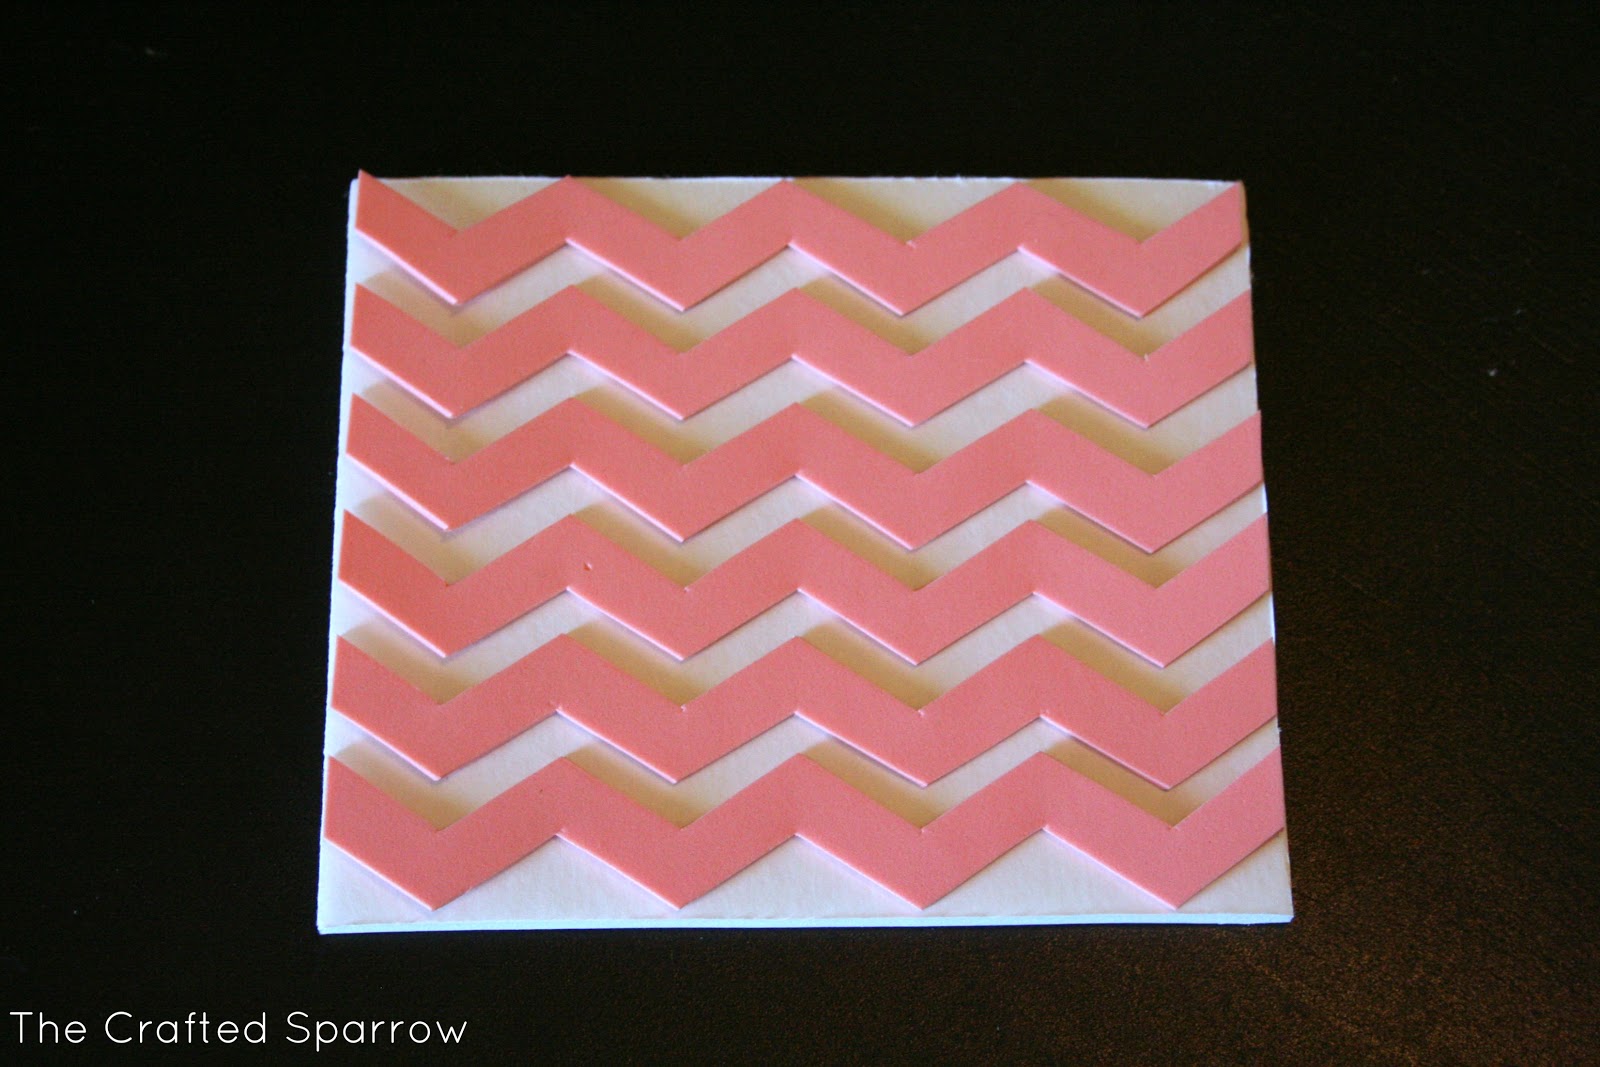
I then used what I had on hand (which was foam core board), you could use that or if you have some nice scrap pieces of wood that you could make custom sized blocks that would be perfect and make it washable. I however did not have that on hand. So mine aren’t washable, but that’s ok.
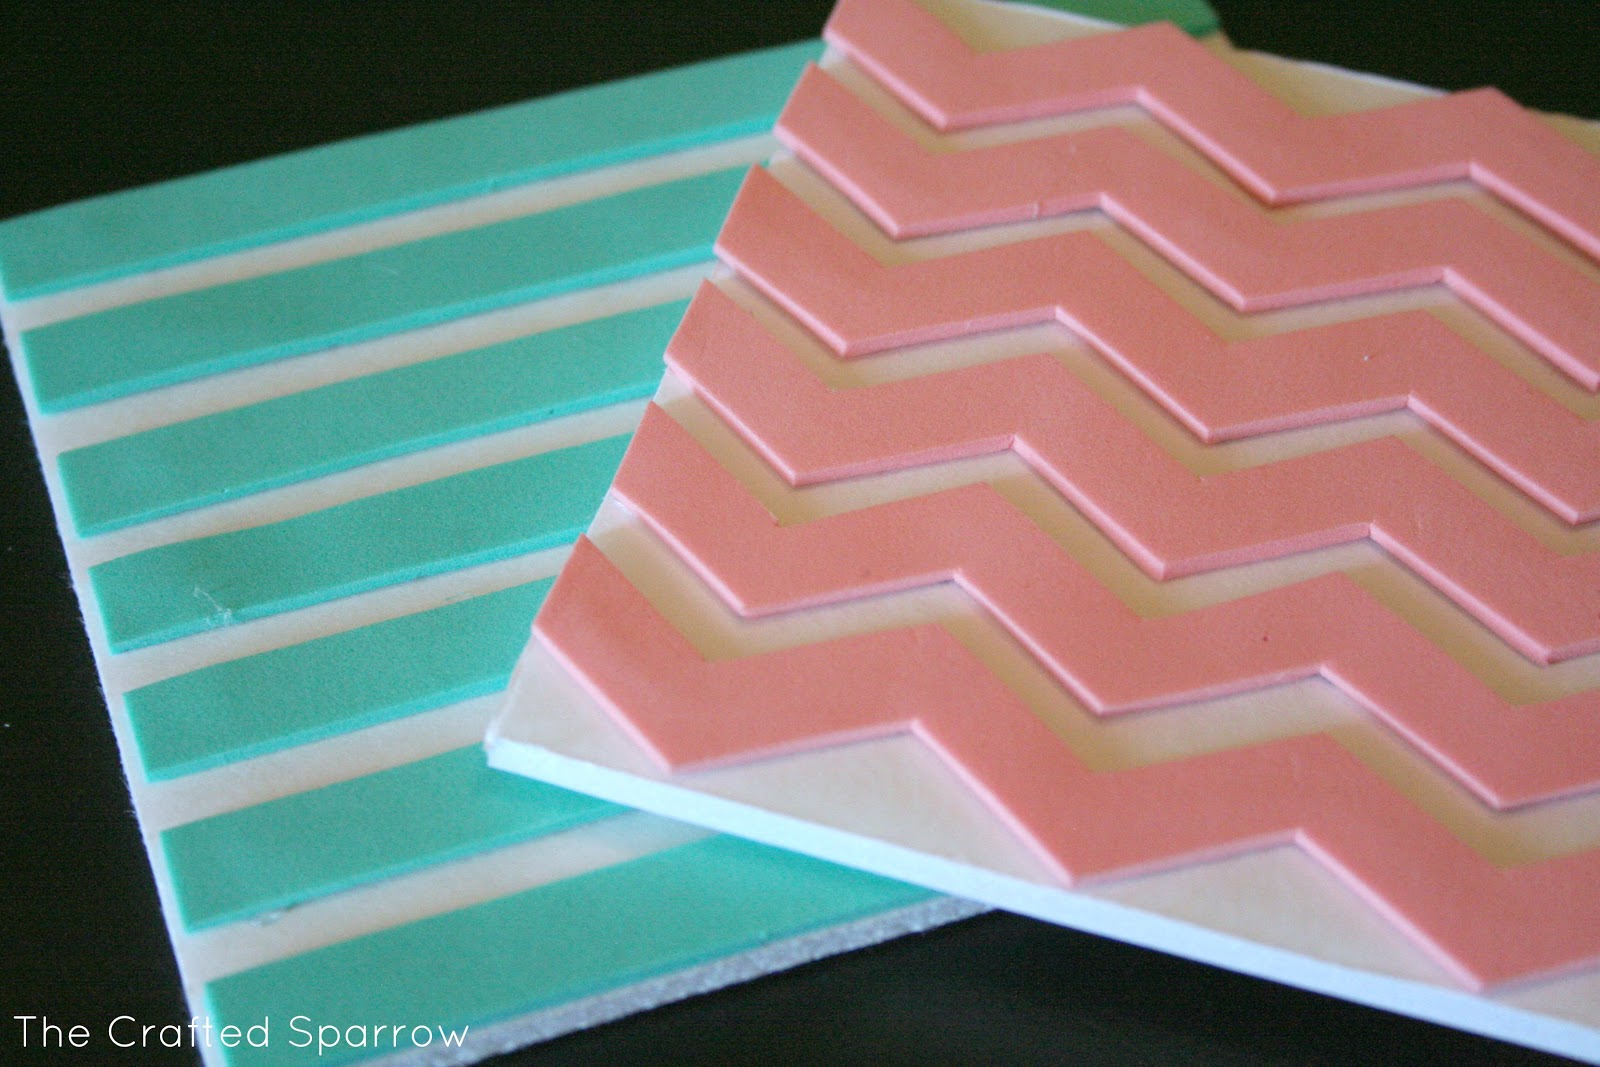
Now you just hot glue your chevron stripes on to your firm surface, be sure to space them evenly. Now your done with your stamp. For my striped stamp I just measured and cut my strips. Super easy.
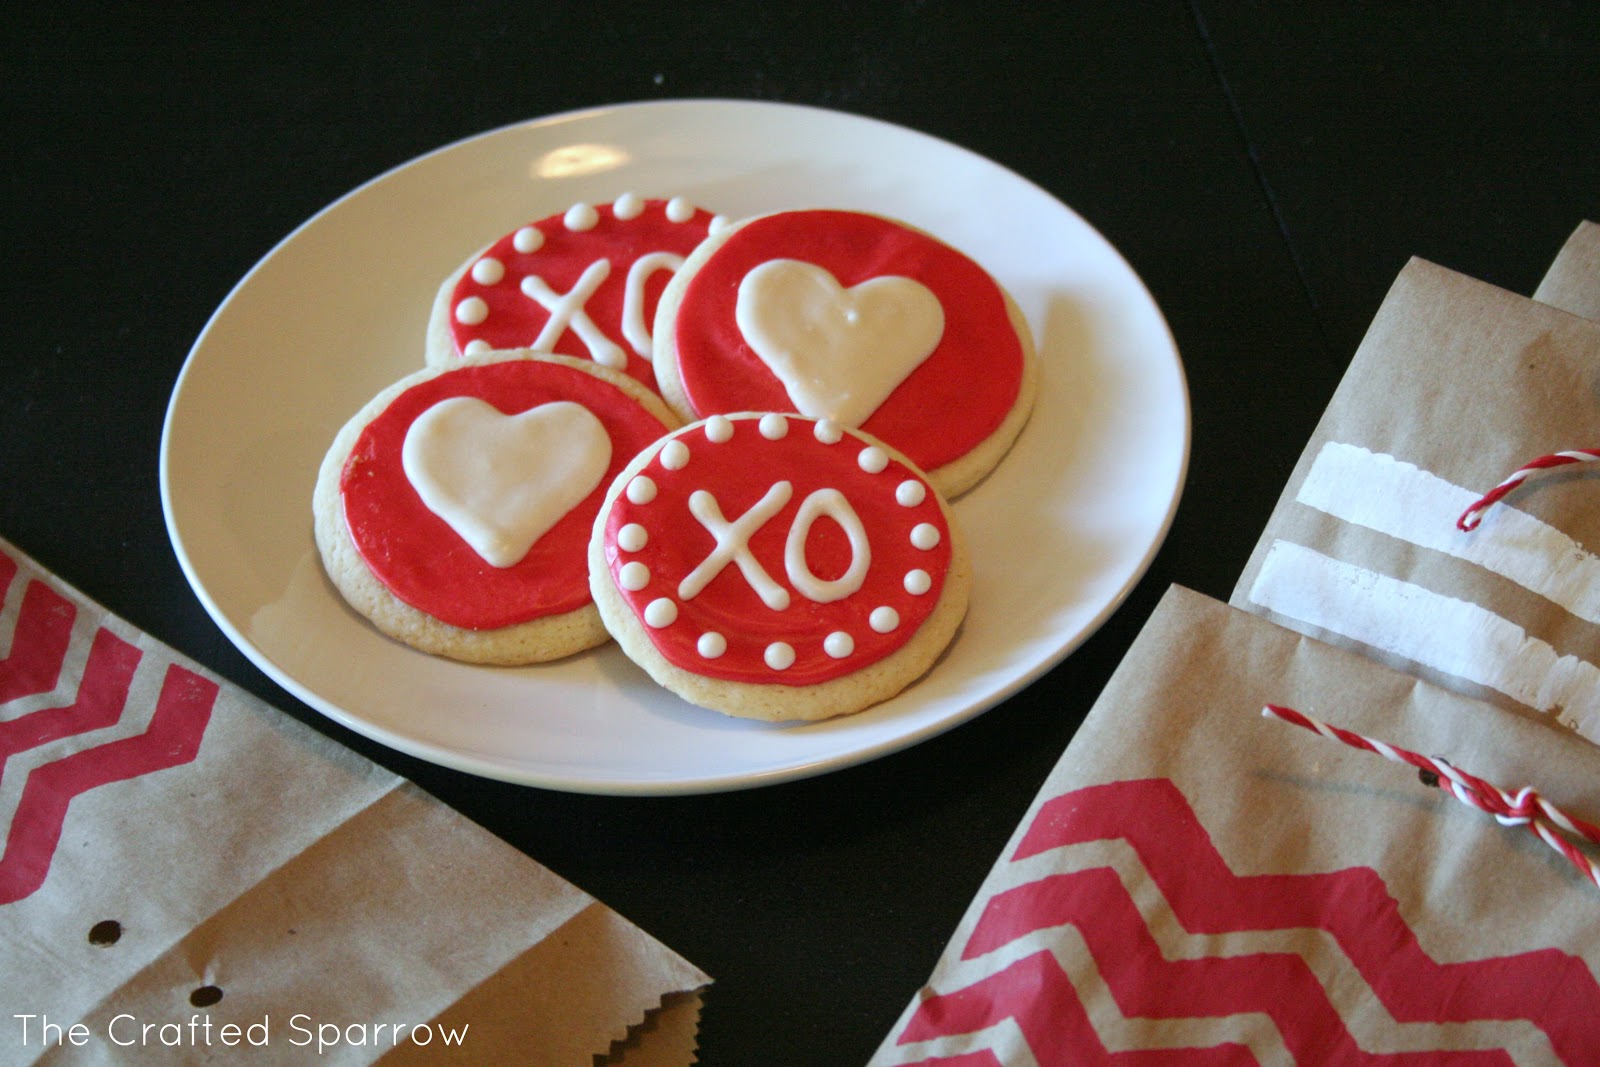
I wanted to create something I could use as packaging for my son’s class treat for Valentines Day so I chose a red & white acrylic paint to use when stamping on my bags.
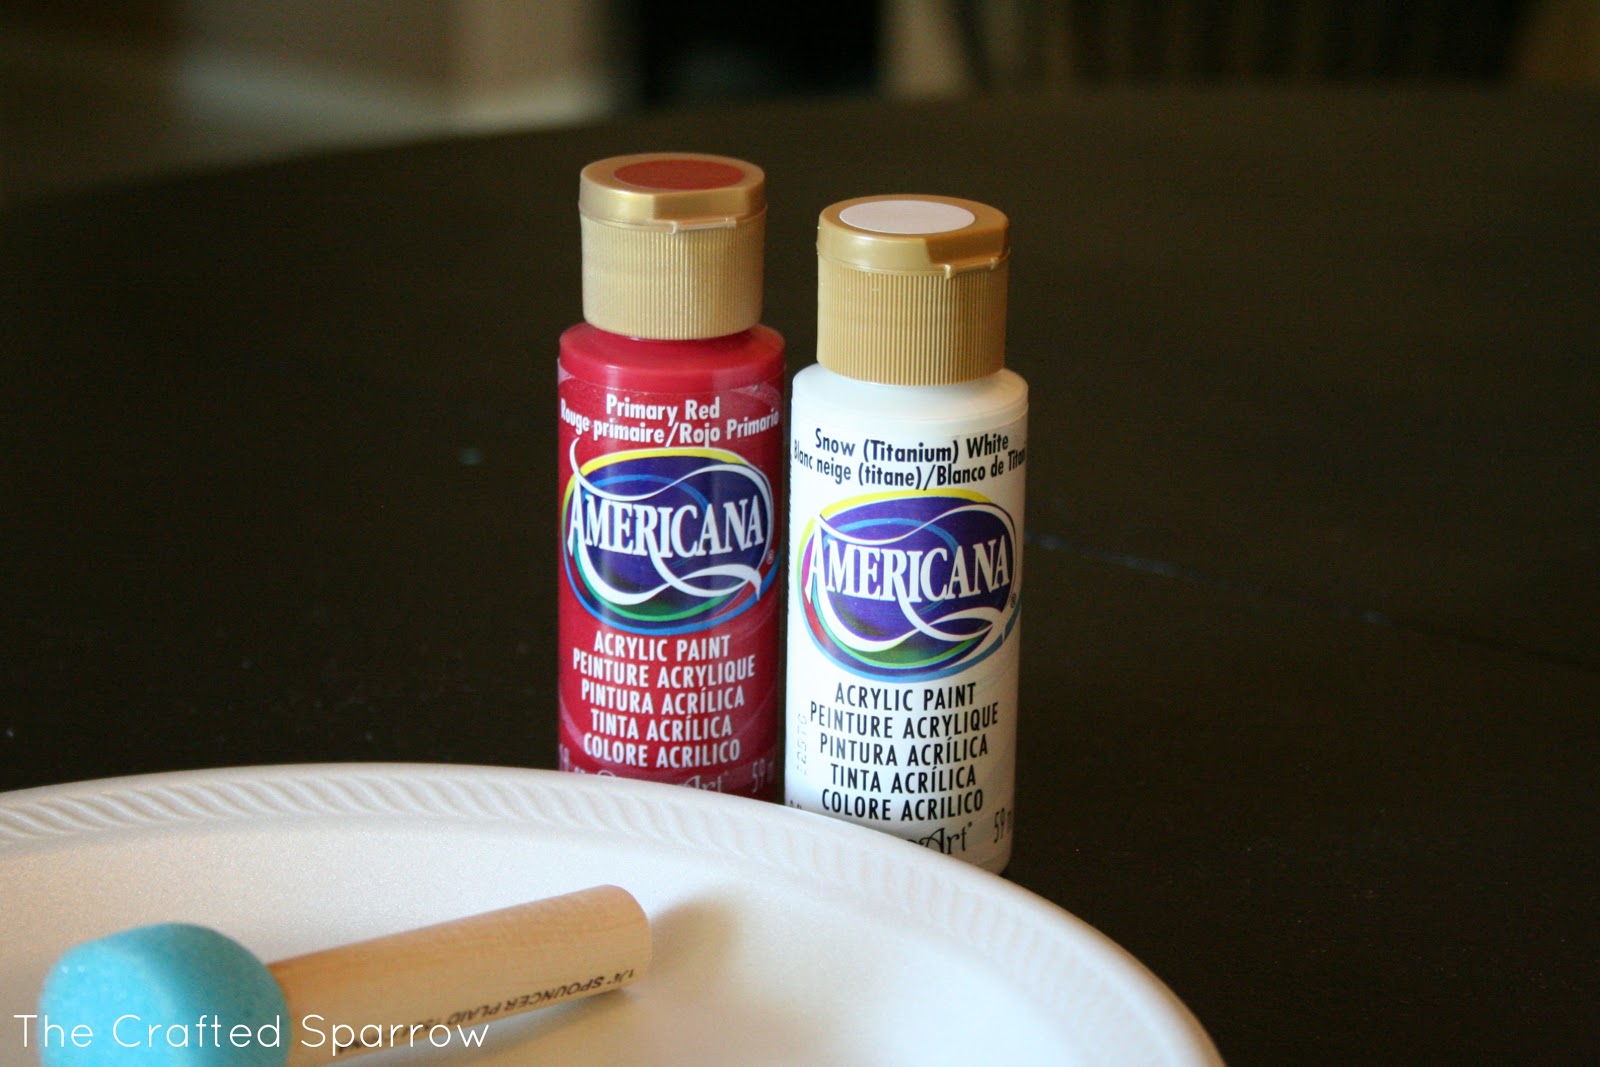
I just used a round foam dobber paint brush and applied the paint to my foam stamp then stamped my bags. Carefully lifted my stamps up and let my bags dry.
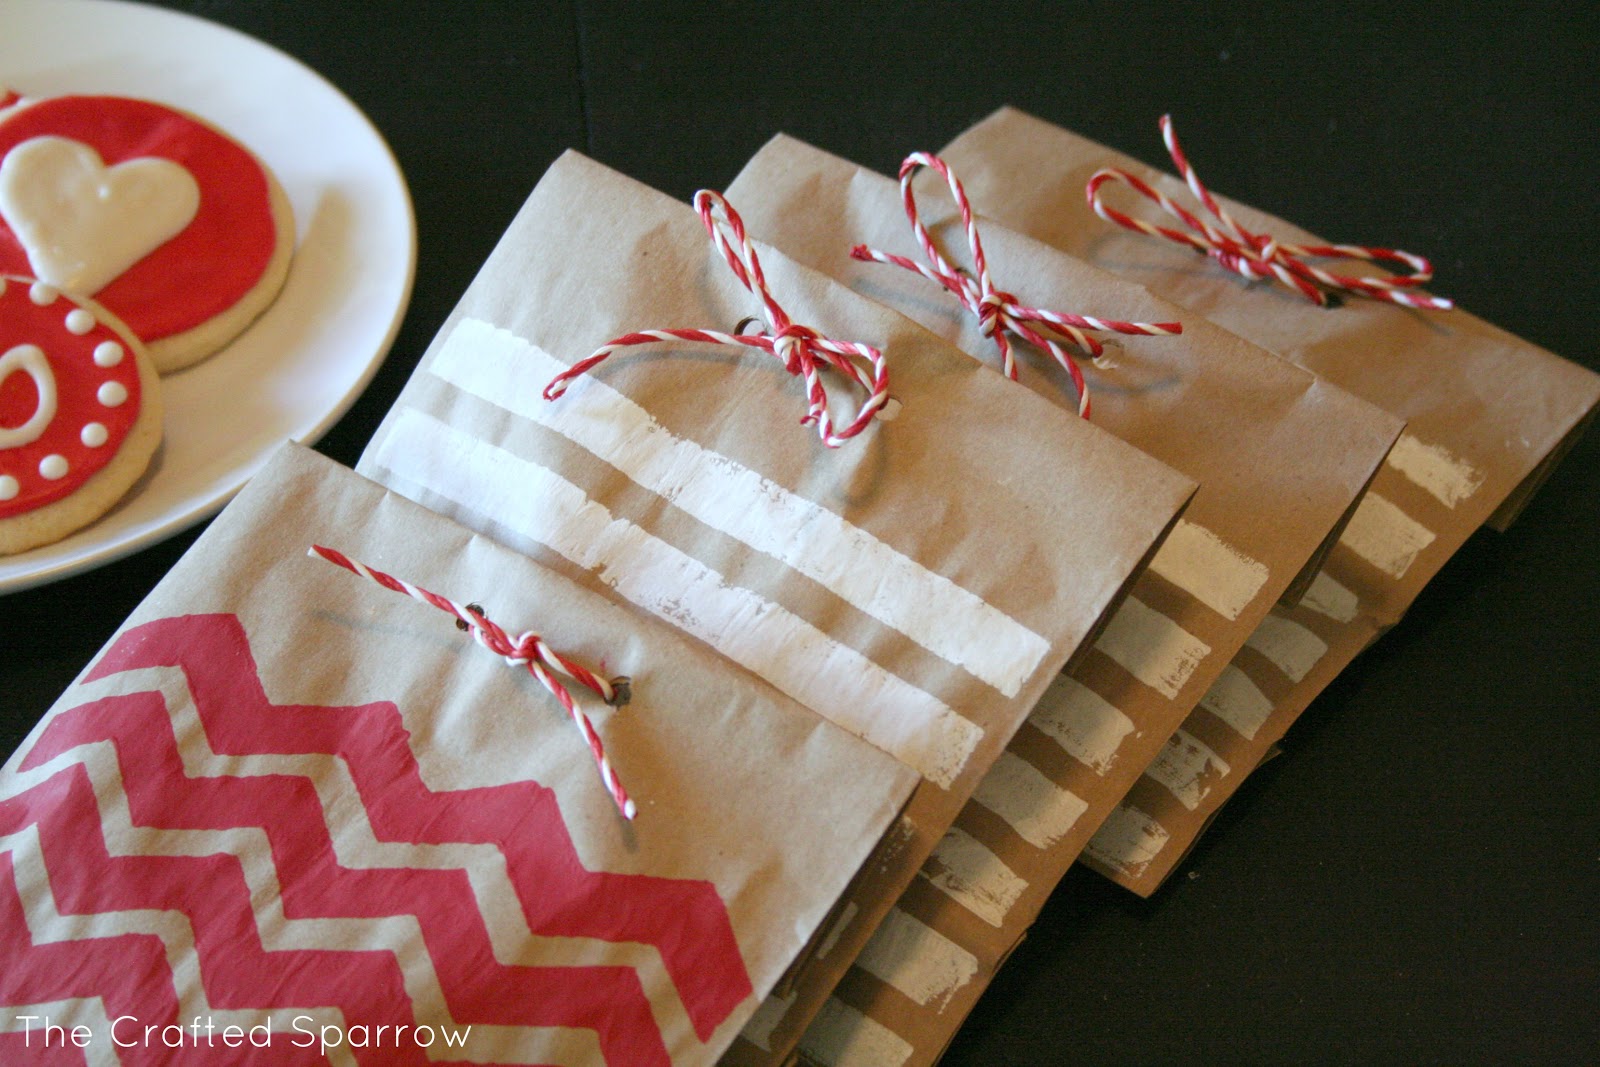
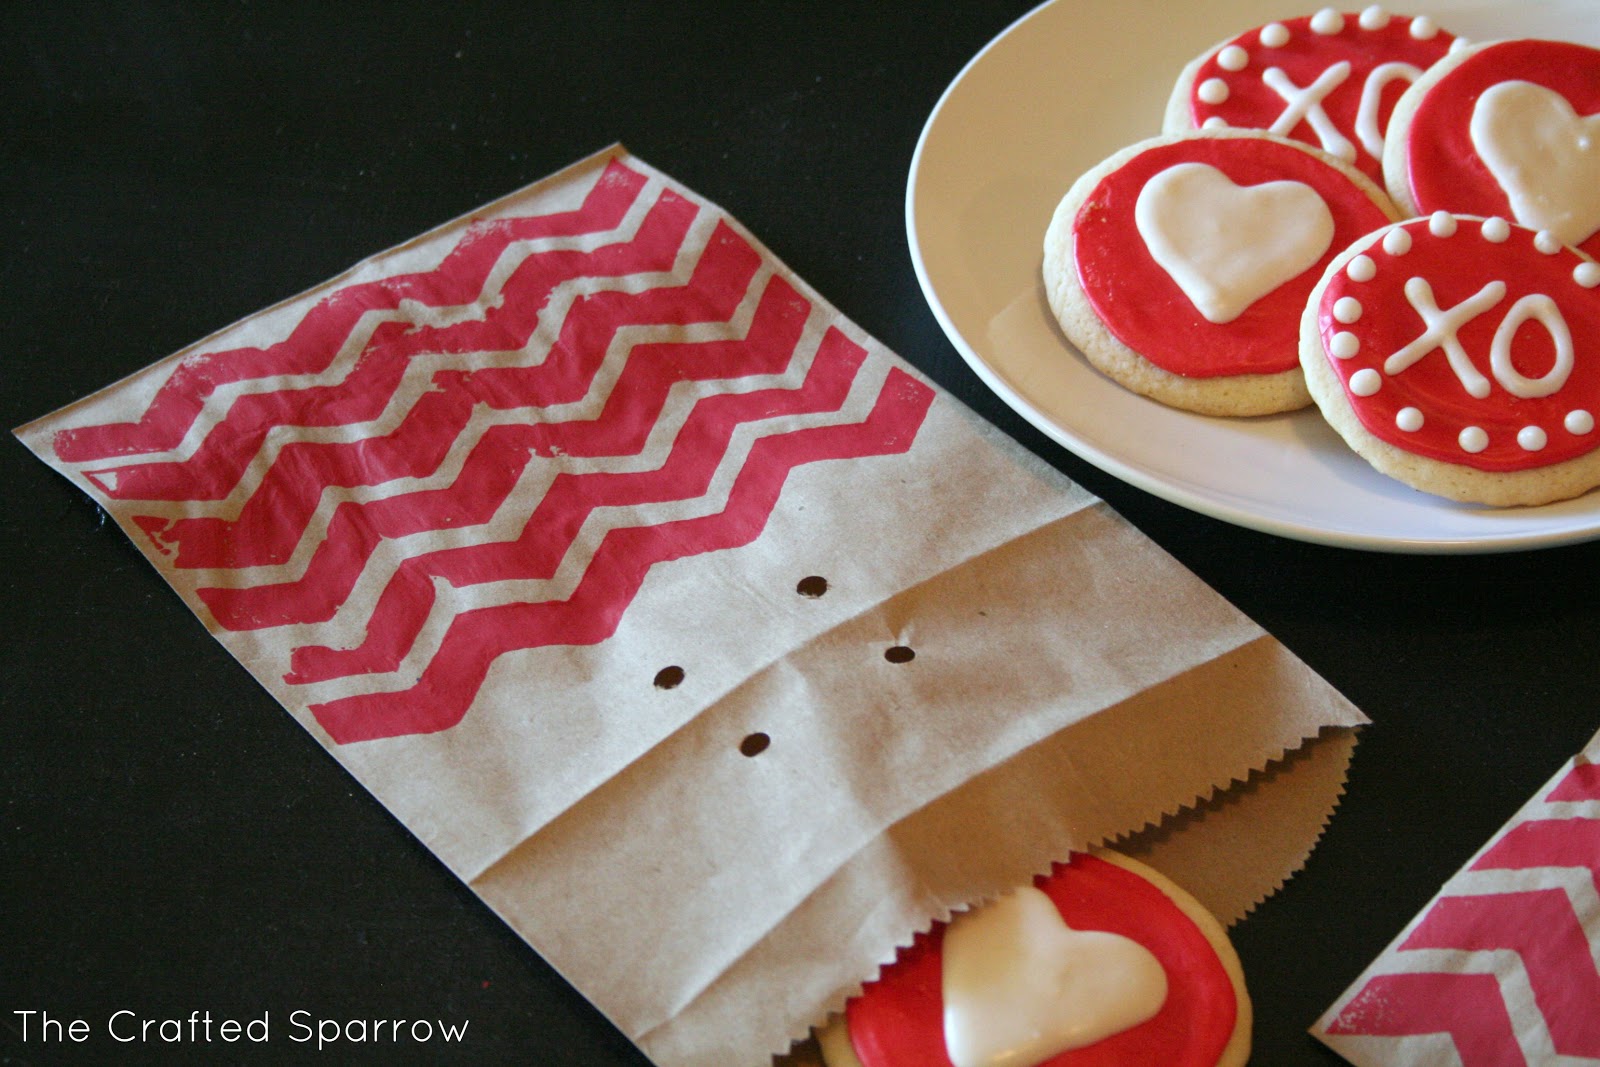
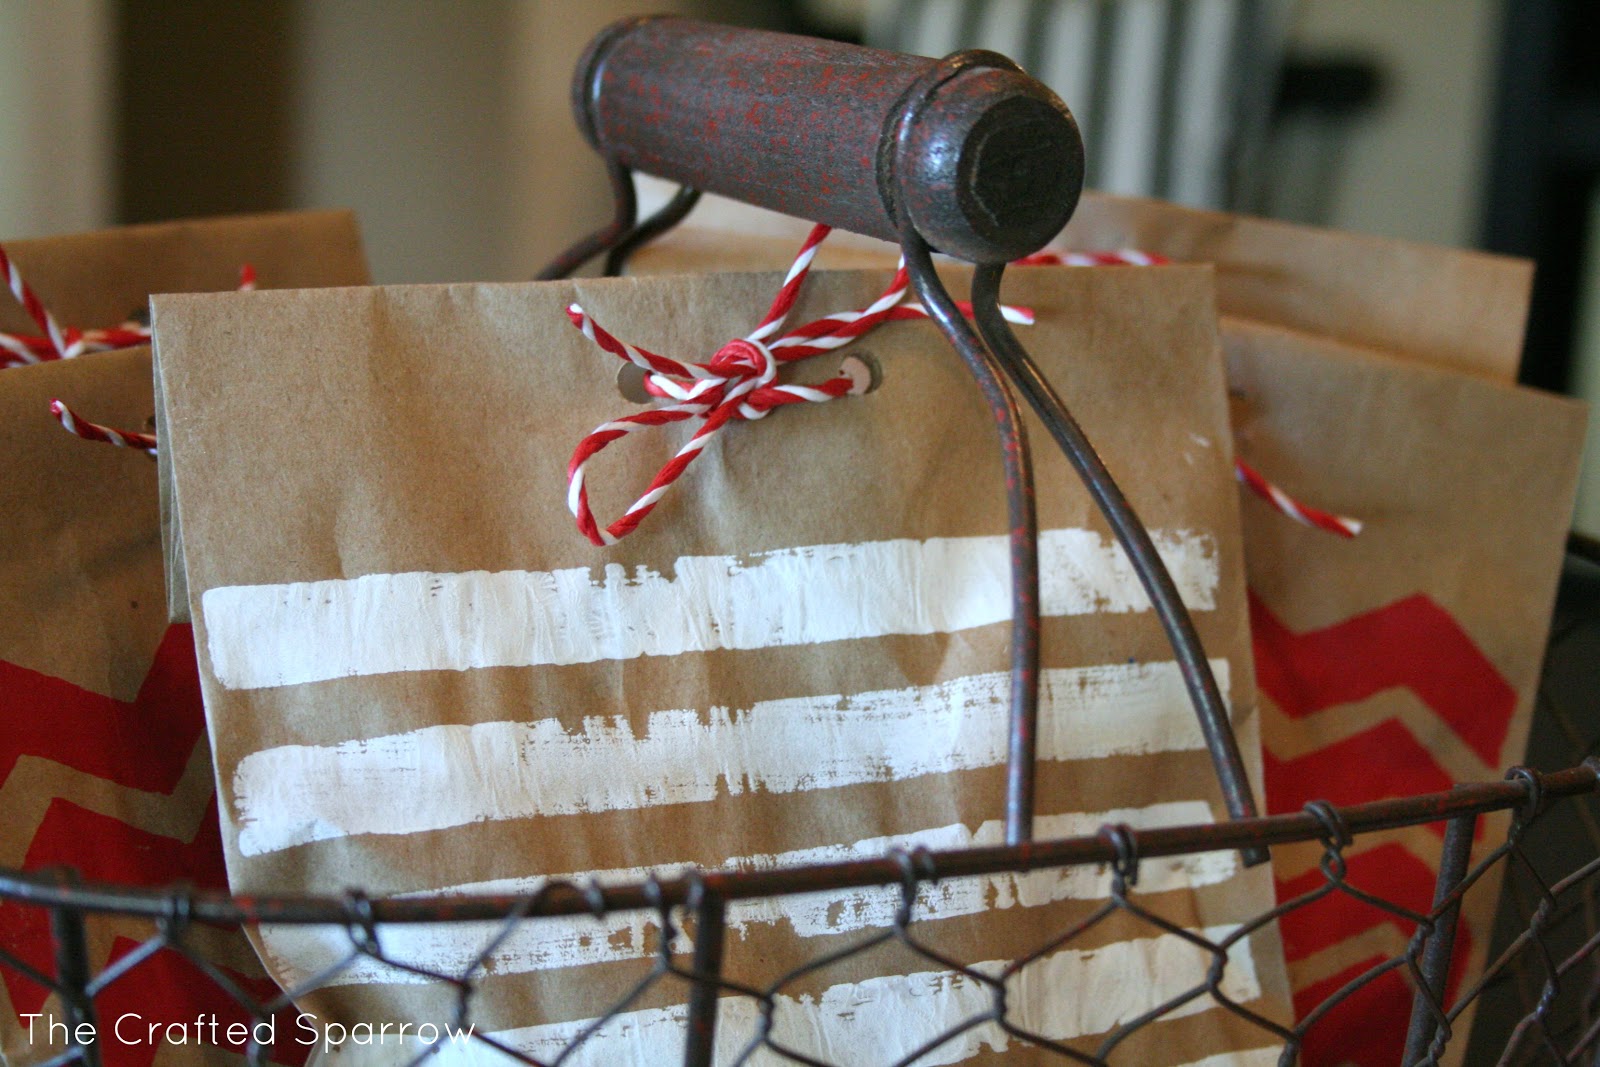

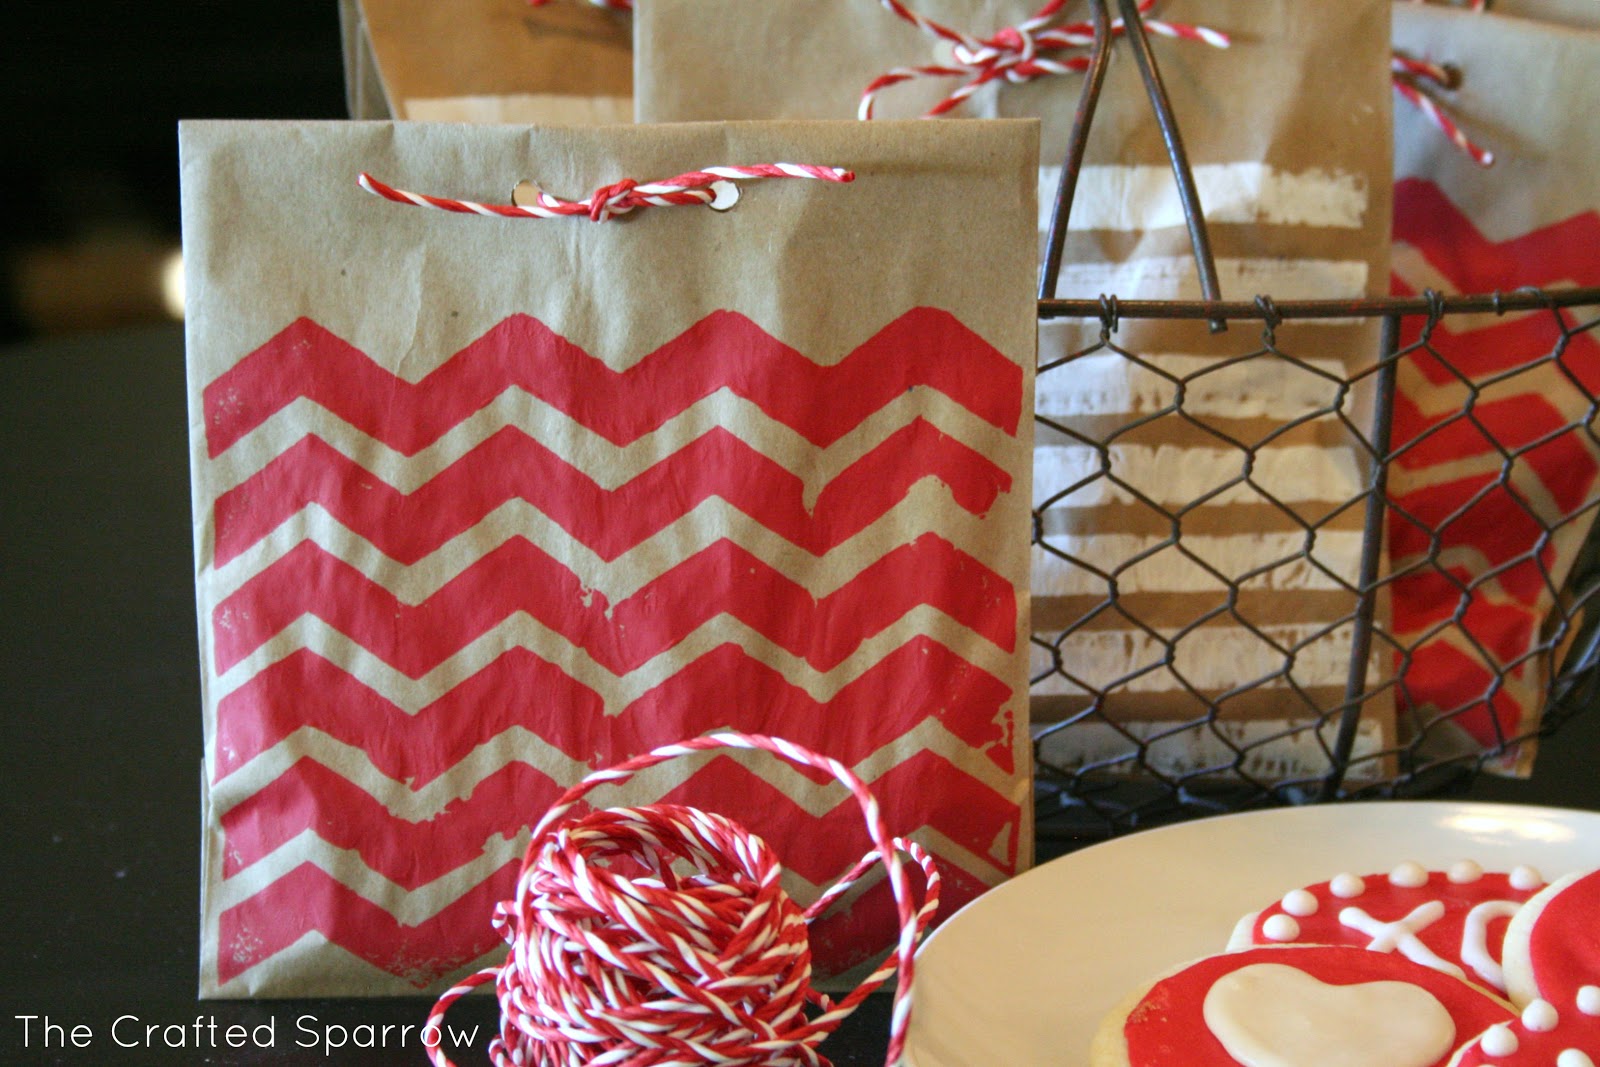
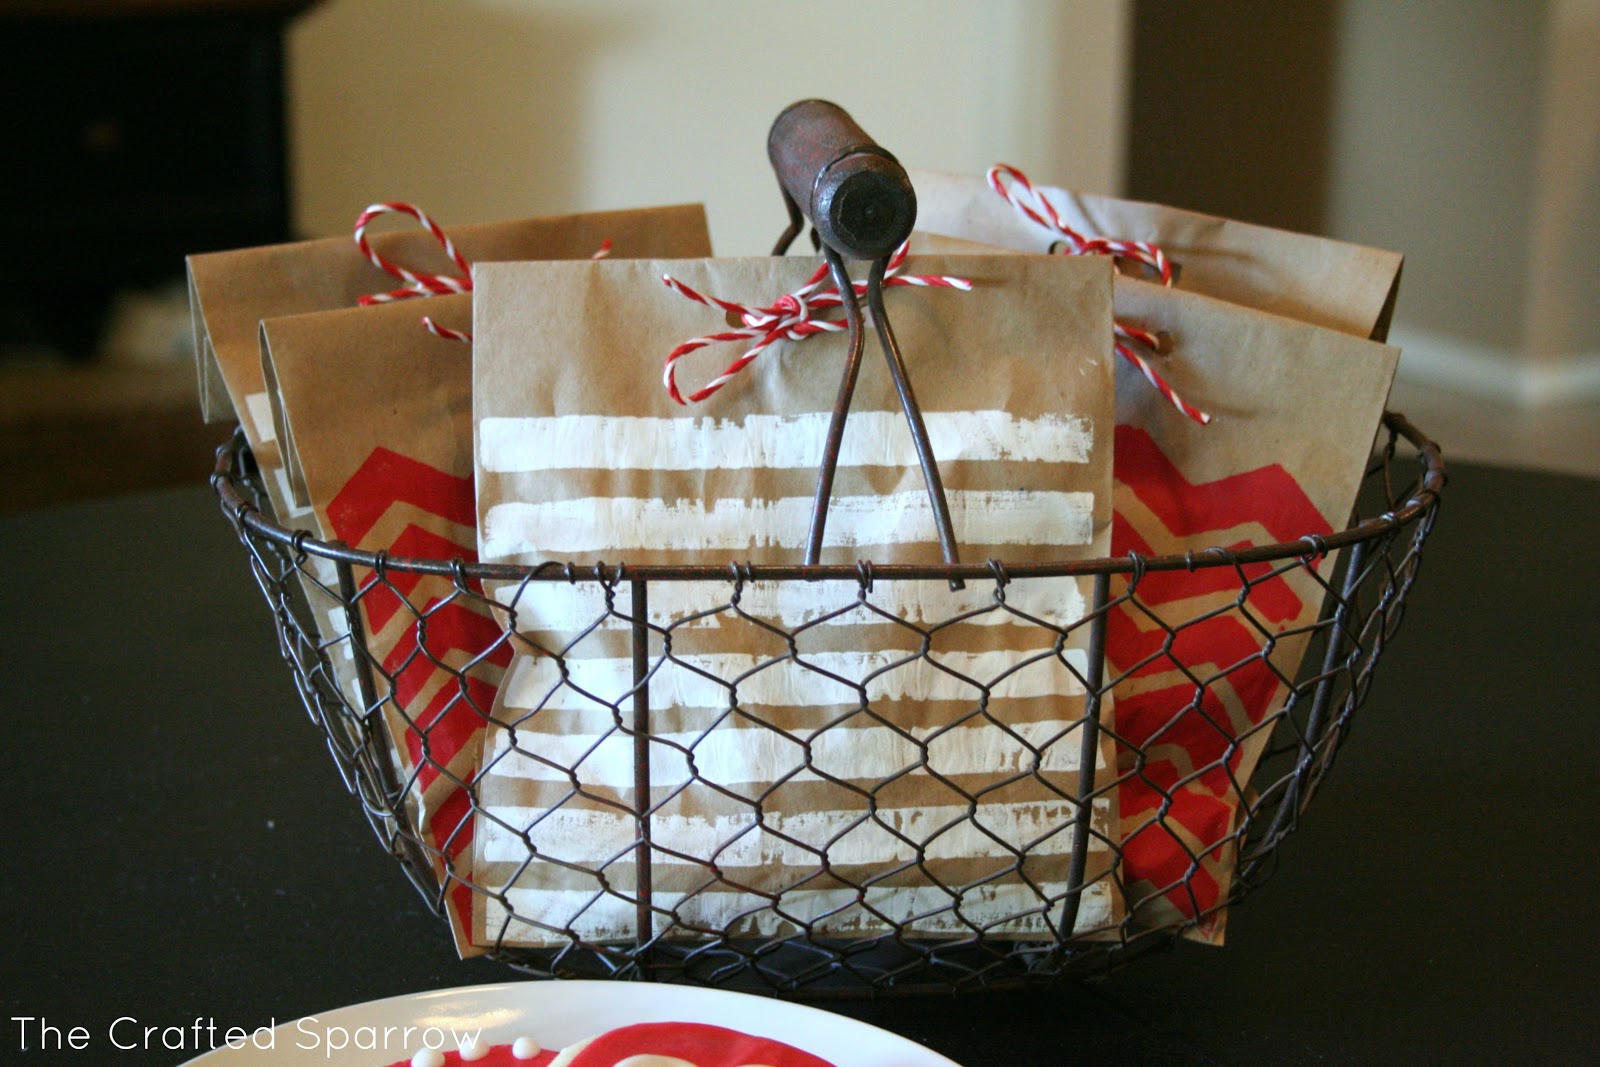
I love how these bags turned out. I think I did to make some polka dot bags next! Hope you like them.

Snap
Editor at Tauni Everett
- 10 Amazing Spring Cleaning Tips
- 15 Awesome Teacher Appreciation Gift Ideas
- 12 Free Easter Printables
- Teacher Appreciation Printables
- Planning a Neighborhood Easter Egg Hunt, Plus a Free Printable Invitation
- St. Patrick’s Day Treasure Hunt Printable
- Adorable Popcorn Valentine Printable
- Thanksgiving Table Settings
Totally cute! Love how they match the cookies. 🙂
Kara, Isn’t Rebecca amazing?! I love her posts. xoxo, Tauni
Great project! These turned out awesome. I may use this idea for my craft fair packaging this year.
Amanda, thanks for your comment. I love unique packaging…So fun! xoxo, Tauni
OMgoodness!!! this is way to NIFTY!!! I LOVE this 🙂
Angelina
Thanks for your fun comment. Totally brought a smile to my face! xoxo, Tauni
love this idea Rebecca!
Hi Rebecca,
this is great, thank you! I adapted the idea to some tea towels and linked back to you: http://www.nicestthings.com/2013/02/diy-kitchen-towels.html
🙂
Oh my goodness. I love your tea towels – they look fantastic. I will make sure that Rebecca sees your post! xoxo, Tauni
A great Idea !